This guide walks you through your very first Toyota Techstream session — from connecting the cable to reading fault codes, monitoring live data, and running your first active test.
Before You Start
- Toyota Techstream V18 installed (VMware version recommended)
- Mini-VCI J2534 cable (FTDI chipset)
- Toyota, Lexus, or Scion vehicle 1996+
- Vehicle ignition key
Step 1: Connect to the Vehicle
- Plug the Mini-VCI cable OBD2 connector into the vehicle (under dashboard, driver side)
- Connect the USB end to your laptop
- Pass the USB device to the VMware VM (Player → Removable Devices)
- Turn the vehicle ignition to ACC or ON (engine off is fine for code reading)
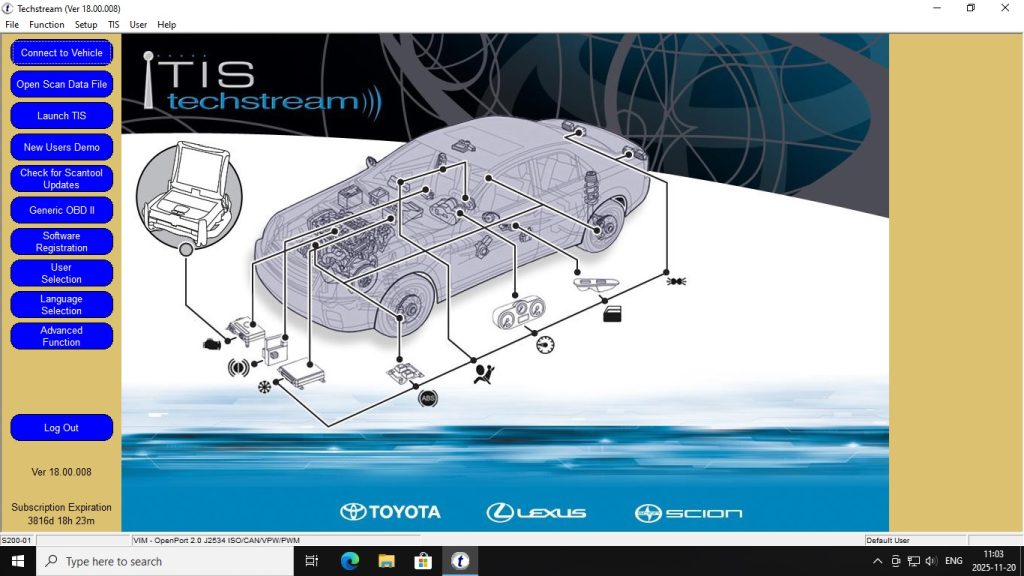
- Open Techstream in the VM
Step 2: Start a Diagnostic Session
- Click “Connect to Vehicle” in Techstream
- The software reads the vehicle VIN automatically
- Confirm the year/make/model when prompted
- You are now connected — the main system selection screen appears
Step 3: Run Health Check (Full Scan)
Click “Health Check” — Techstream scans every ECU in the vehicle and reports all stored fault codes. This typically takes 2–3 minutes. The report shows:
- Which systems have fault codes
- Code numbers and descriptions
- Whether codes are current or historical (stored)
Step 4: View Live Data
Select a system (e.g., Engine) → Data List. You can now monitor real-time sensor values. Key parameters for engine diagnosis: coolant temp, MAF airflow, fuel trim short/long term, throttle position, O2 sensor voltage, and engine RPM.
Step 5: Run an Active Test
Select a system → Active Test. Techstream lets you command components to switch on/off:
- Engine cooling fan — test the relay and motor
- EVAP purge valve — test the canister purge solenoid
- Fuel injectors — kill each injector to find a dead cylinder
- ABS solenoids — test each modulator valve
Step 6: Clear Codes After Repair
After completing repairs, go to the affected system → Trouble Codes → Clear. Rerun Health Check to confirm no codes remain.