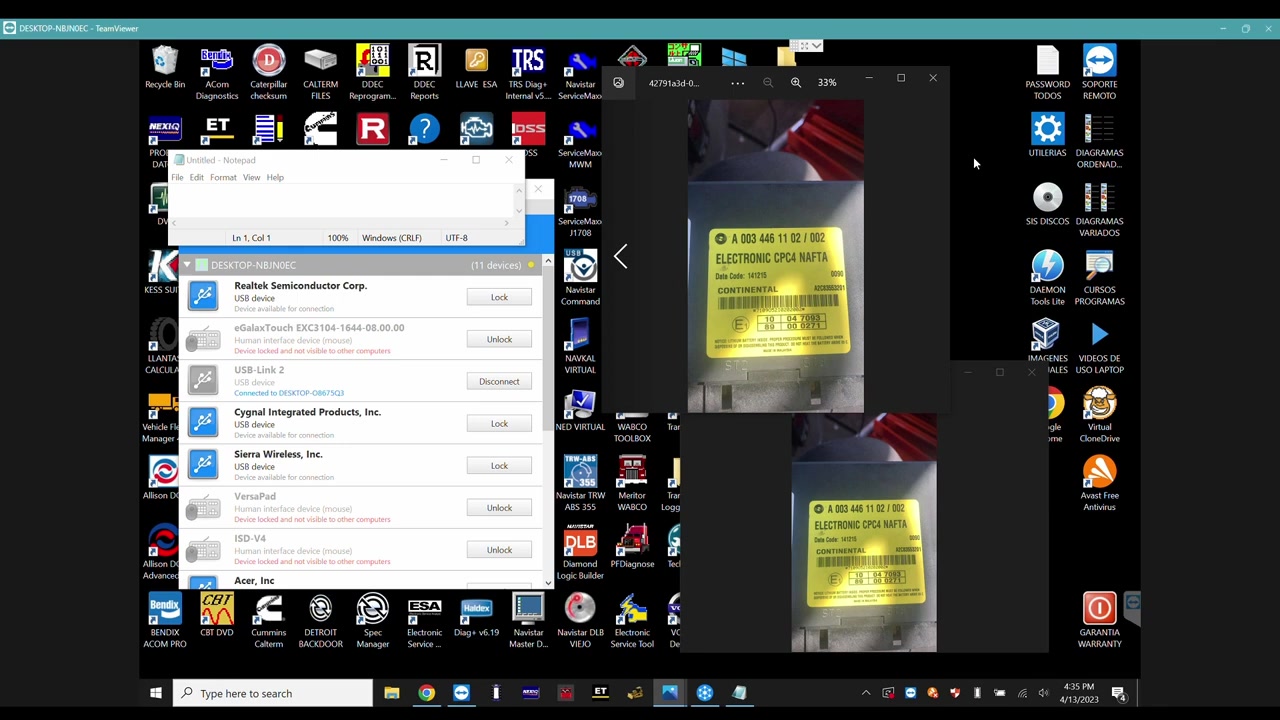
DiagnosticLink Professional is a powerful, all‑in‑one diagnostic suite that streamlines ECU programming, fault management, and parameter handling for heavy‑duty trucks. This tutorial walks a technician through remote CPC4 programming on a 2017 Freightliner Cascadia 125 Day Cab, demonstrating how to read and clear codes, synchronize VINs, and backup/restore parameters with minimal downtime.
What You Will Learn
- How to connect DiagnosticLink Professional to a Freightliner Cascadia via FlexiHub.
- Procedure for remote CPC4 ECU programming and token usage.
- Reading, clearing, and interpreting fault codes on the Detroit Diesel engine.
- Synchronizing VINs across all related ECUs after a module replacement.
- Exporting original parameters before programming and importing them back afterward.
- Identifying and troubleshooting common software‑version incompatibility errors.
- Best practices for maintaining a stable internet connection during remote sessions.
Step-by-Step Walkthrough
1. Launch DiagnosticLink Professional on your workstation and select Freightliner Cascadia 2017 from the vehicle list. Click Connect and choose the FlexiHub remote session that links to the shop’s diagnostic gateway. A successful handshake is confirmed by the green “Connected” indicator.
2. Navigate to the ECU Identification tab. The software will scan all modules and display their part numbers, firmware versions, and current VINs. Verify that the CPC4 module shows a “Not Programmed” status and that the VIN listed does not match the chassis VIN. This mismatch is the root cause of the acceleration fault.
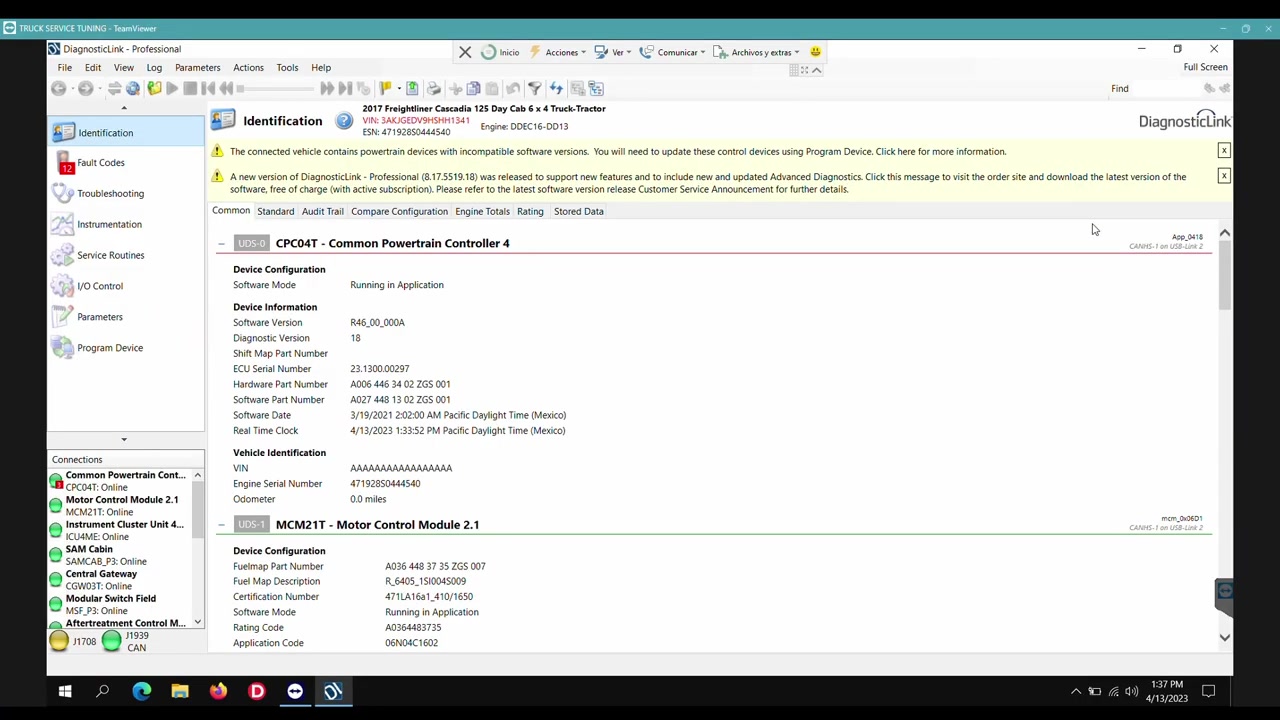
3. Before any programming, create a full backup of the existing parameters. Select Parameter Backup → Export, choose a descriptive file name (e.g., CPC4_Backup_2024_05_08.bin), and click Save. The export file is stored locally and can be re‑imported after the new module is installed.
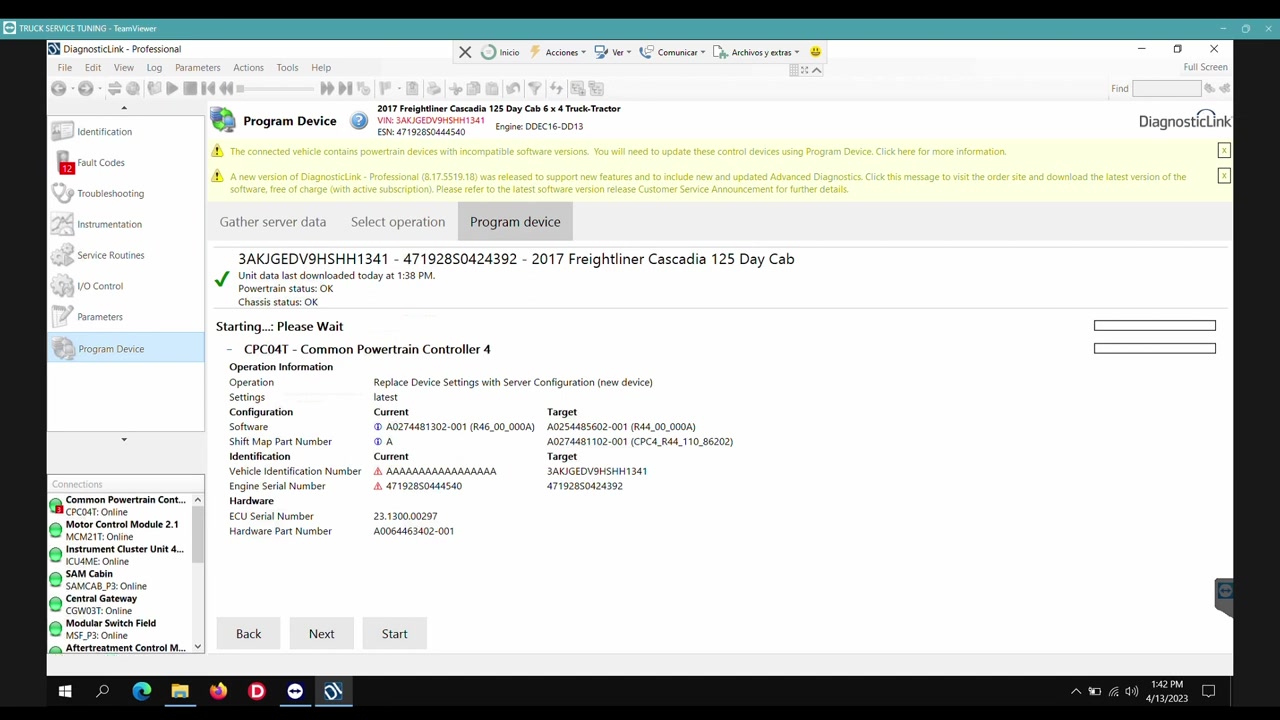
4. Remove the faulty CPC4 unit and install the replacement CPC4 that matches the original part number. Re‑connect the diagnostic cable, then return to DiagnosticLink Professional. The software will detect the new hardware and prompt you to purchase a programming token. Confirm the purchase; each token authorizes one full programming cycle.
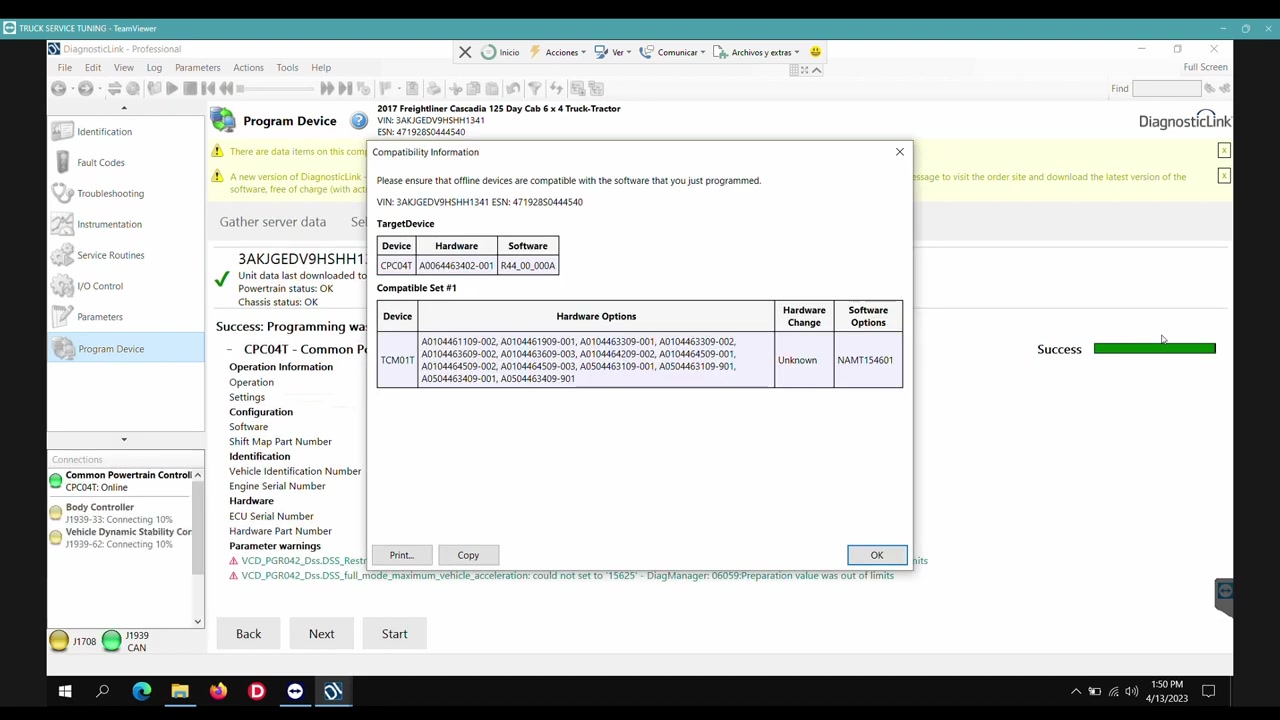
5. With the token applied, open the CPC Programming window. Select the target firmware version that matches the original ECU (typically the latest Detroit‑approved release). Click Start Programming. The tool will upload the firmware over the remote link, displaying progress bars for each stage: erase, write, verify. A stable 10 Mbps internet connection is essential; any drop will abort the session.
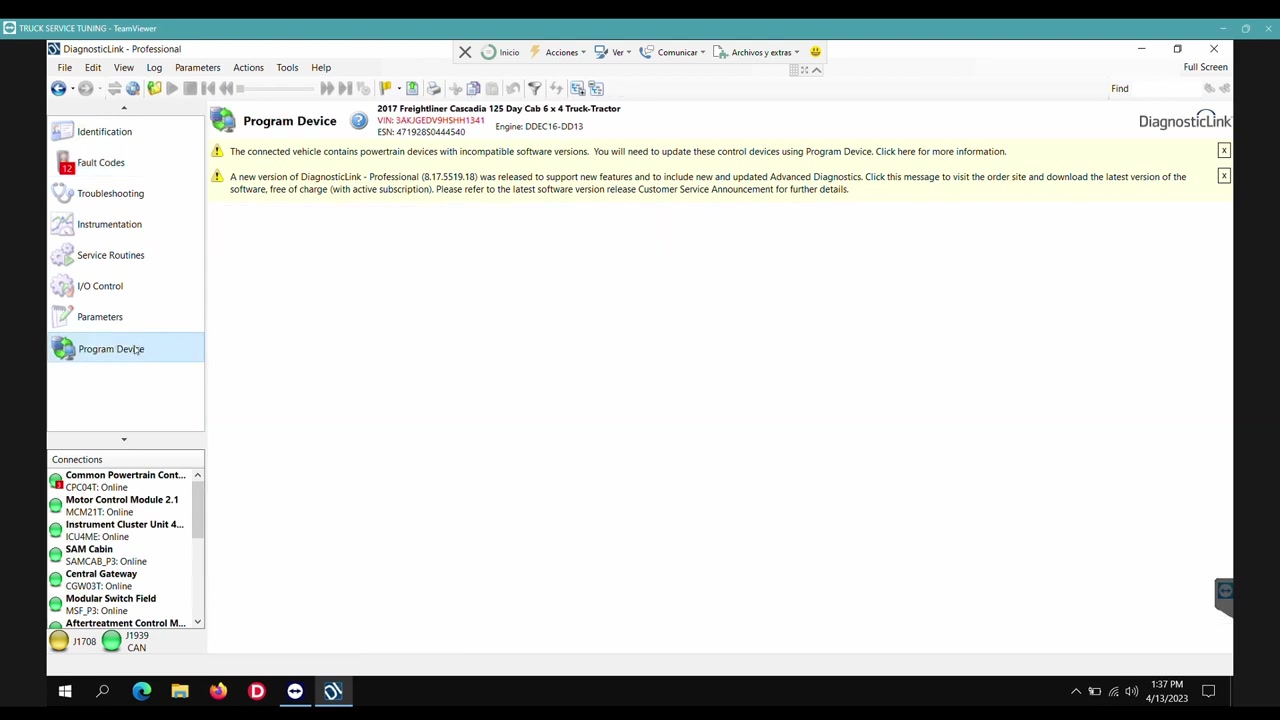
6. After programming completes, the ECU will require a power cycle. Follow the on‑screen prompts: turn the ignition ON for 5 seconds, then OFF** for 10 seconds, and finally ON** again. This sequence forces the new firmware to initialize and clears residual memory.
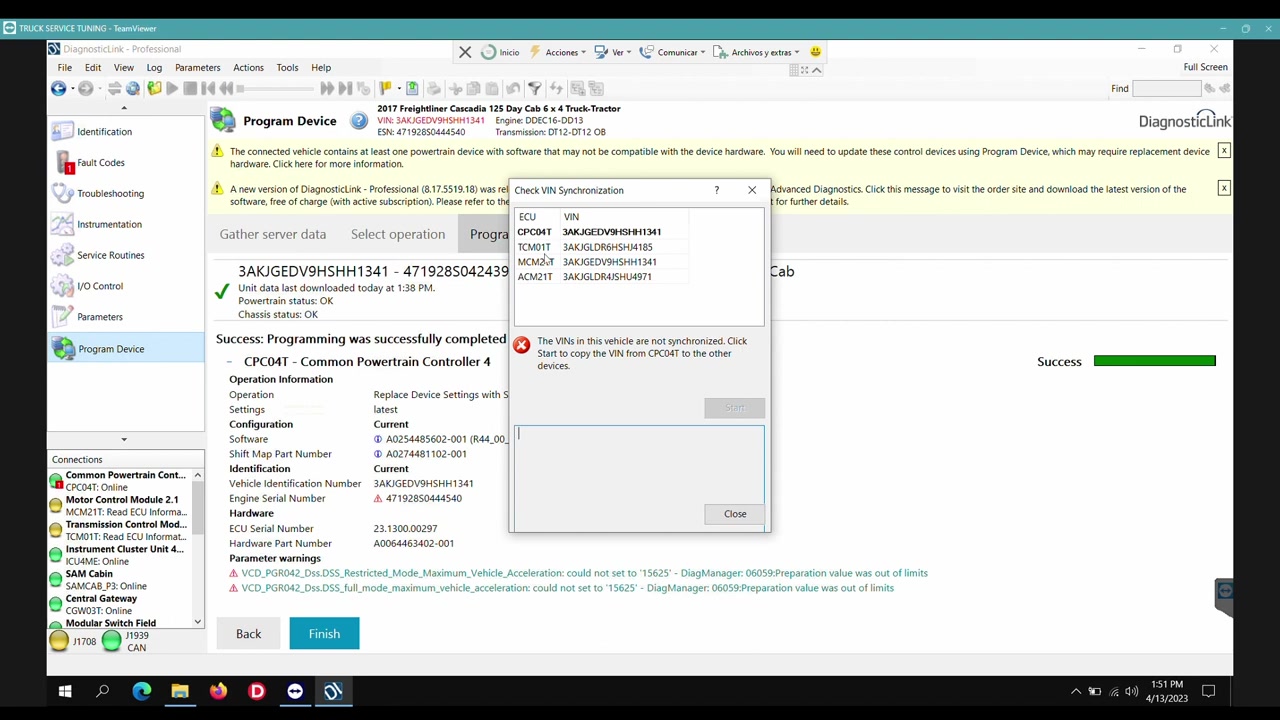
7. Proceed to VIN synchronization. Open the VIN Sync module, select all ECUs that share the vehicle identification (CPC4, Engine Control, Transmission), and click Sync VIN. DiagnosticLink Professional writes the chassis VIN to each module, eliminating the “VIN mismatch” warning that previously triggered the acceleration fault.
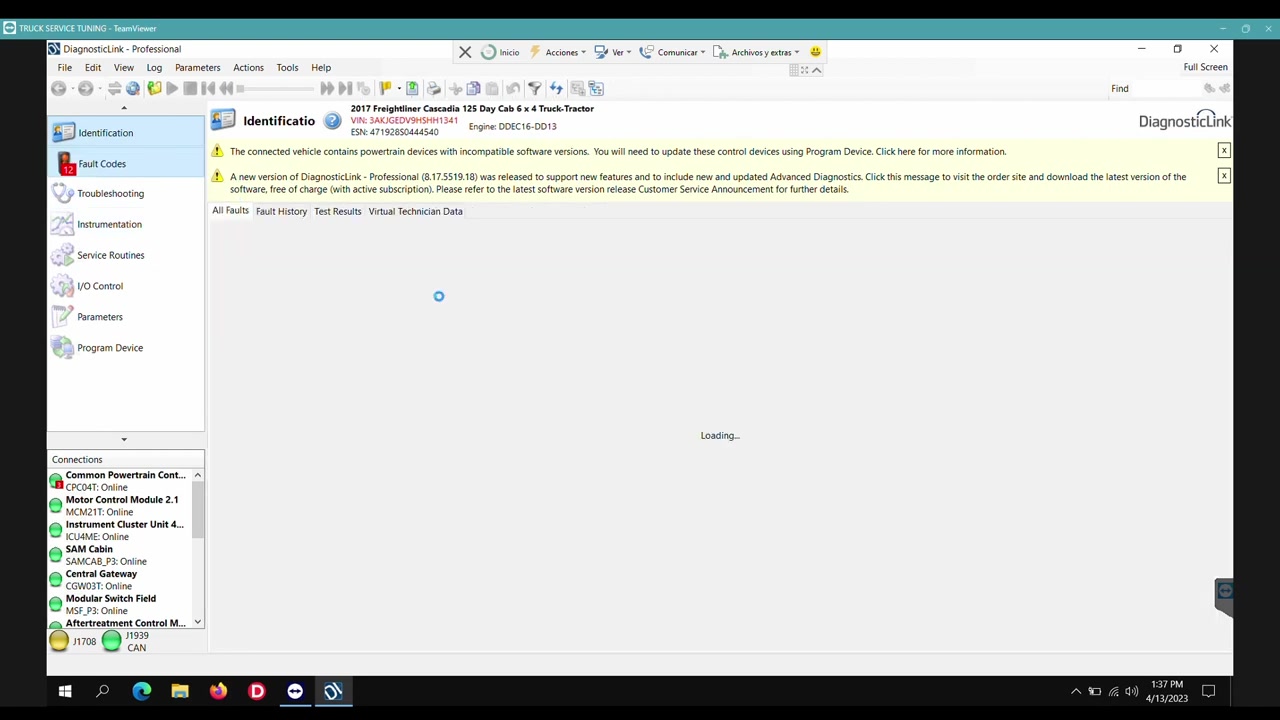
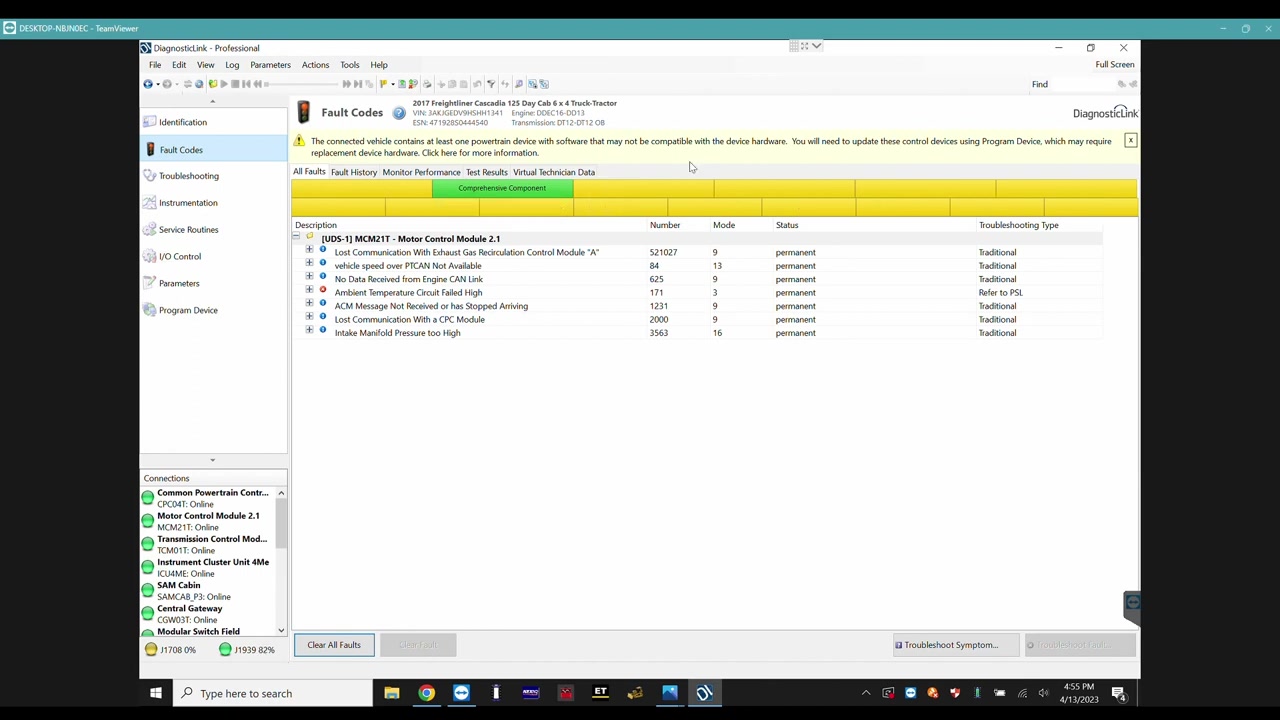
8. Verify the repair by reading fault codes. Choose Read Codes and confirm that the P0600 communication error and the P0562 low voltage code are cleared. If any new codes appear, use the Clear Codes function and re‑run a short drive cycle to ensure stability.
9. Finally, restore any custom parameters that were backed up earlier. Open Parameter Restore → Import, locate the previously saved .bin file, and click Import. The software will write the original calibration data back to the CPC4, preserving driver‑specific settings such as idle speed and fuel trims.
10. Perform a final verification by running the “Live Data” screen for 2 minutes, watching for smooth throttle response and consistent sensor readings. Capture a screenshot of the live data window for documentation.
Key Features of DiagnosticLink Professional
- Remote ECU programming via FlexiHub with token‑based licensing.
- Comprehensive fault code reading, clearing, and live data streaming.
- VIN synchronization tool that updates all networked modules simultaneously.
- Parameter backup (export) and restore (import) for any supported ECU.
- Device identification that displays part numbers, firmware versions, and compatibility notes.
- Integrated server access for Detroit Diesel programming, eliminating the need for on‑site licensing servers.
Compatible Vehicles and ECUs
DiagnosticLink Professional supports the following Freightliner and Detroit Diesel platforms relevant to this tutorial: 2015‑2022 Freightliner Cascadia (125, 126, 127), Freightliner 122, Detroit DD13, DD15, DD16 engines, CPC4 and CPC5 communication modules, J1939‑based transmission controllers, and auxiliary ECUs such as ABS, HVAC, and telematics units.
Pro Tips
- Always verify internet bandwidth before starting a remote programming session; a minimum of 10 Mbps ensures uninterrupted data flow.
- Purchase enough programming tokens in advance—each module replacement consumes one token, and token errors will halt the process.
- After any module swap, run the VIN Sync routine before attempting to clear codes; unsynchronized VINs will re‑trigger communication faults.
- Document the original firmware version and parameter file name; this information speeds up warranty claims and future re‑programming.
- Use the “Ignition Cycle” prompts exactly as shown; skipping the off‑period can leave the ECU in a semi‑programmed state, causing intermittent errors.
Following this workflow lets technicians resolve CPC4 failures, align VINs across the network, and preserve critical calibration data, delivering a reliable fix with minimal shop time.
Frequently Asked Questions
Can I program a Detroit Diesel CPC module without direct server access?
Yes, via remote connection using software like FlexiHub to bridge your diagnostic interface to a computer with server access.
What internet speed is recommended for remote Detroit Diesel programming?
A minimum of 10 Mbps is recommended for stable remote programming.
Do I need to pay for each Detroit Diesel programming operation?
Yes, each programming operation typically requires purchasing ‘tokens’ from Detroit.
Is it important to backup parameters before replacing a CPC module?
Yes, it’s crucial to export and save the original parameters from the old module to restore them to the new one if needed.
Can I replace a CPC4 module with a CPC2 module?
No, replacement modules must be compatible (e.g., CPC4 for CPC4) for the programming to be successful.
Ready to use DiagnosticLink Professional in your workshop? Download it directly from firstdiag.com — instant delivery, no subscription needed.