The Volvo Tech Tool is a comprehensive diagnostic and programming platform designed for Volvo trucks. This tutorial walks you through Engine Control Unit (ECU) programming on a Volvo FM 370, covering software installation, data reading, fault diagnostics, and parameter adjustments to ensure optimal engine performance.
What You Will Learn
- How to install or reprogram the Engine ECU using Volvo Tech Tool
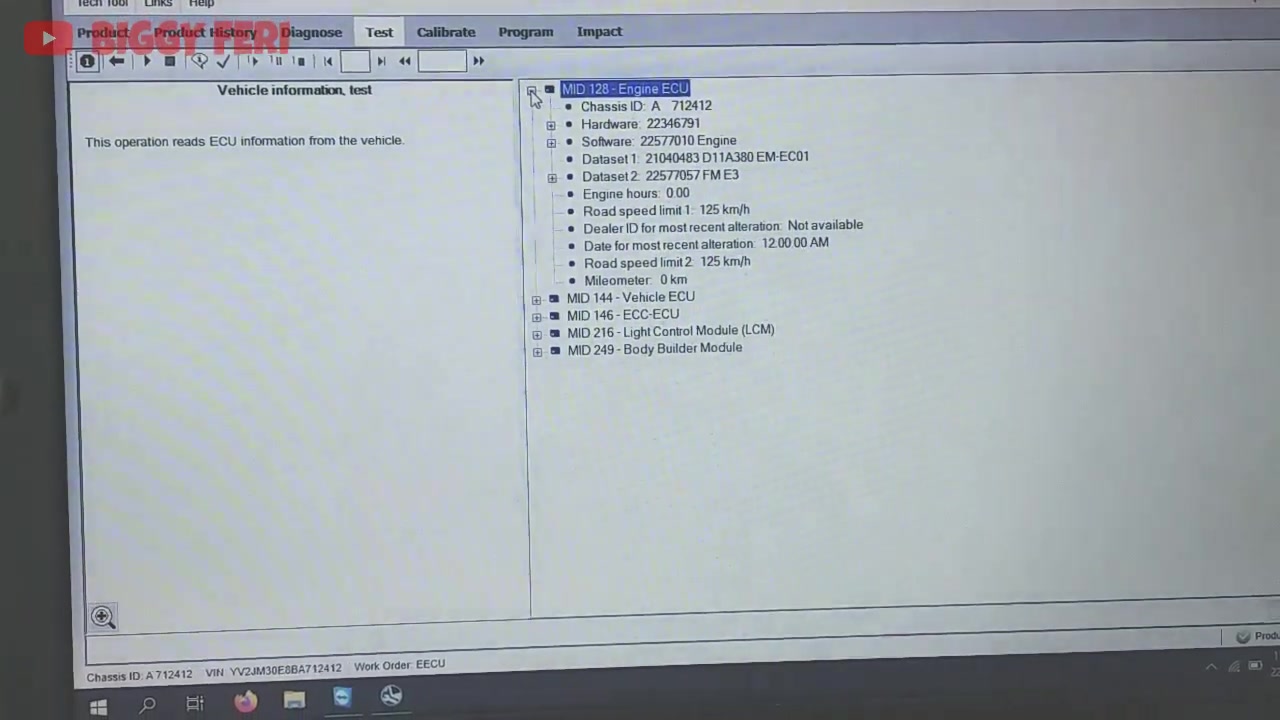
- Reading and interpreting control unit data and vehicle information
- Performing fault diagnostics and clearing error codes
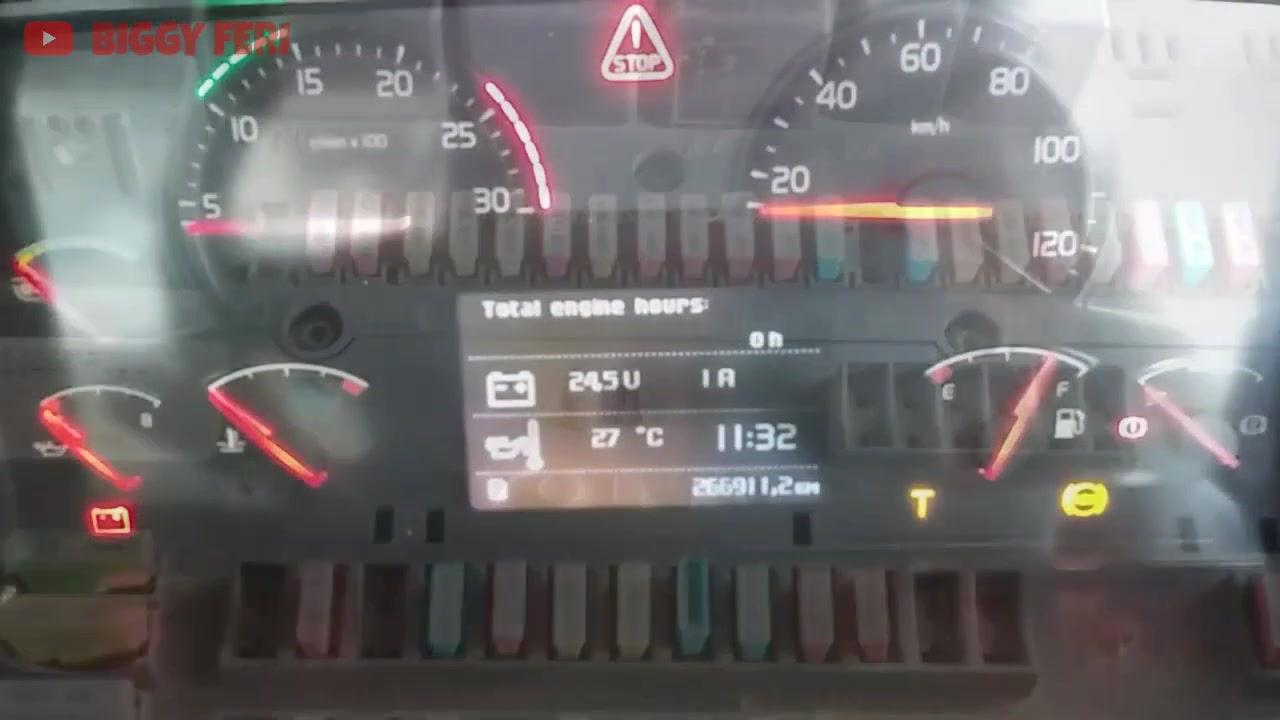
- Programming key parameters such as total engine hours and odometer
- Resolving common communication errors (SAE J1939, MID 128, MID 140)
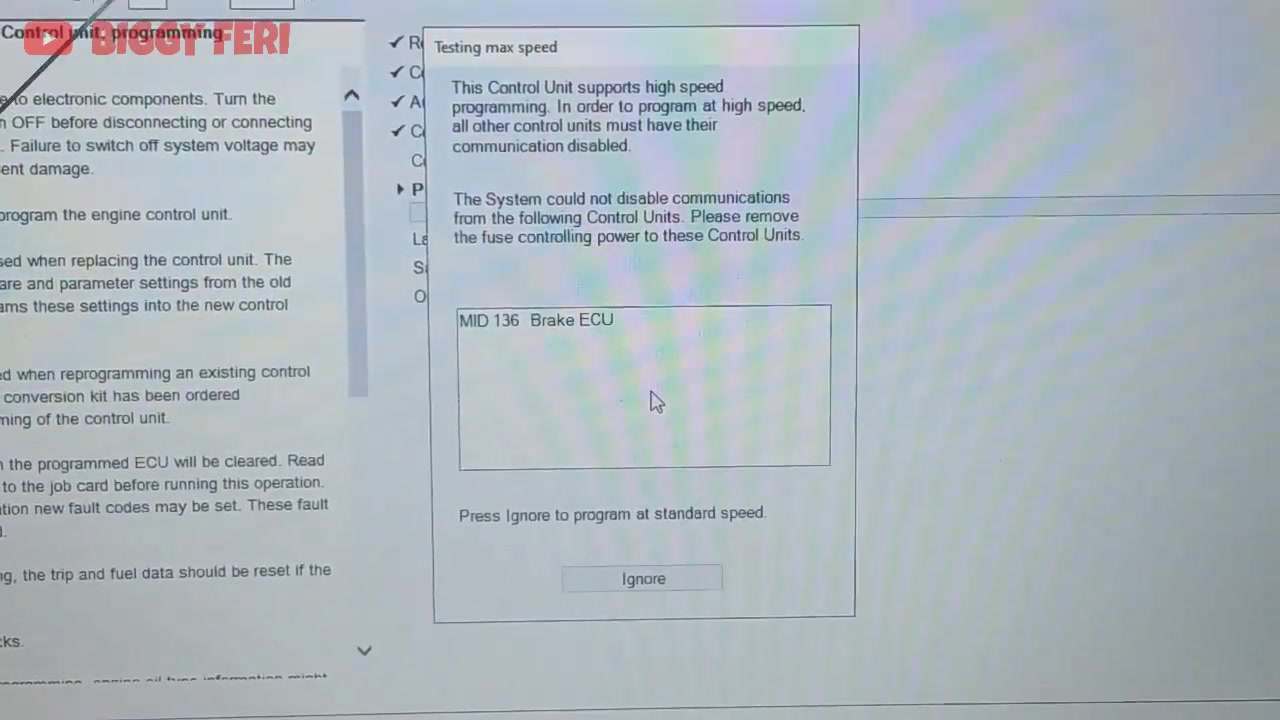
- Enabling high‑speed programming when communication disabling fails
- Procedures for fuel system bleeding after ECU replacement
Step-by-Step Walkthrough
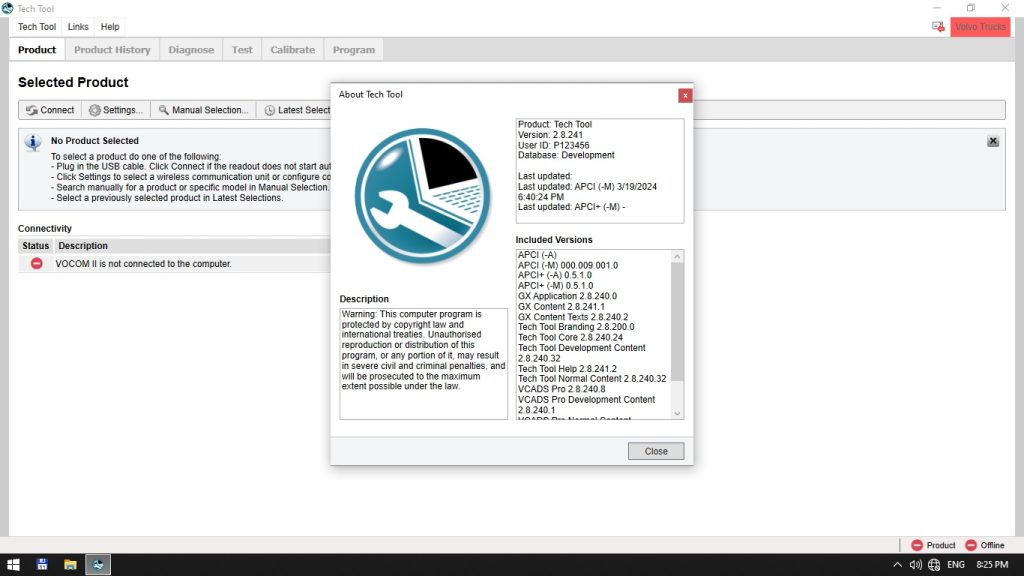
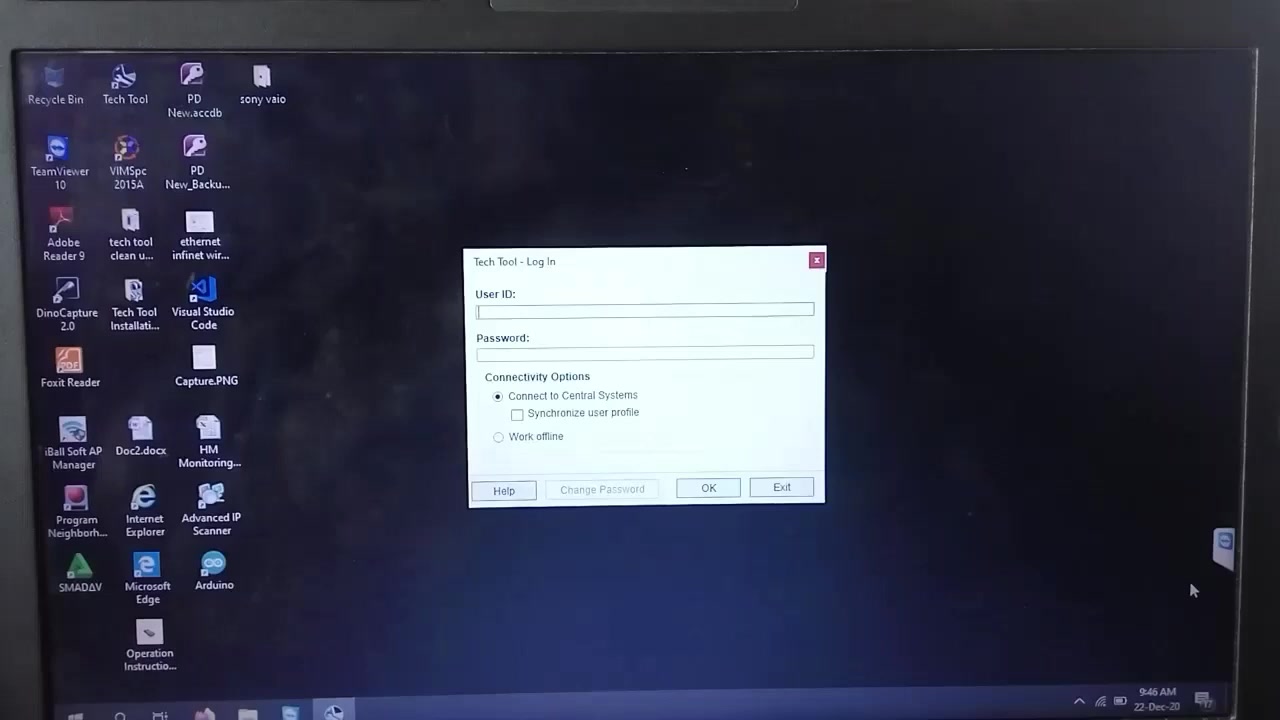
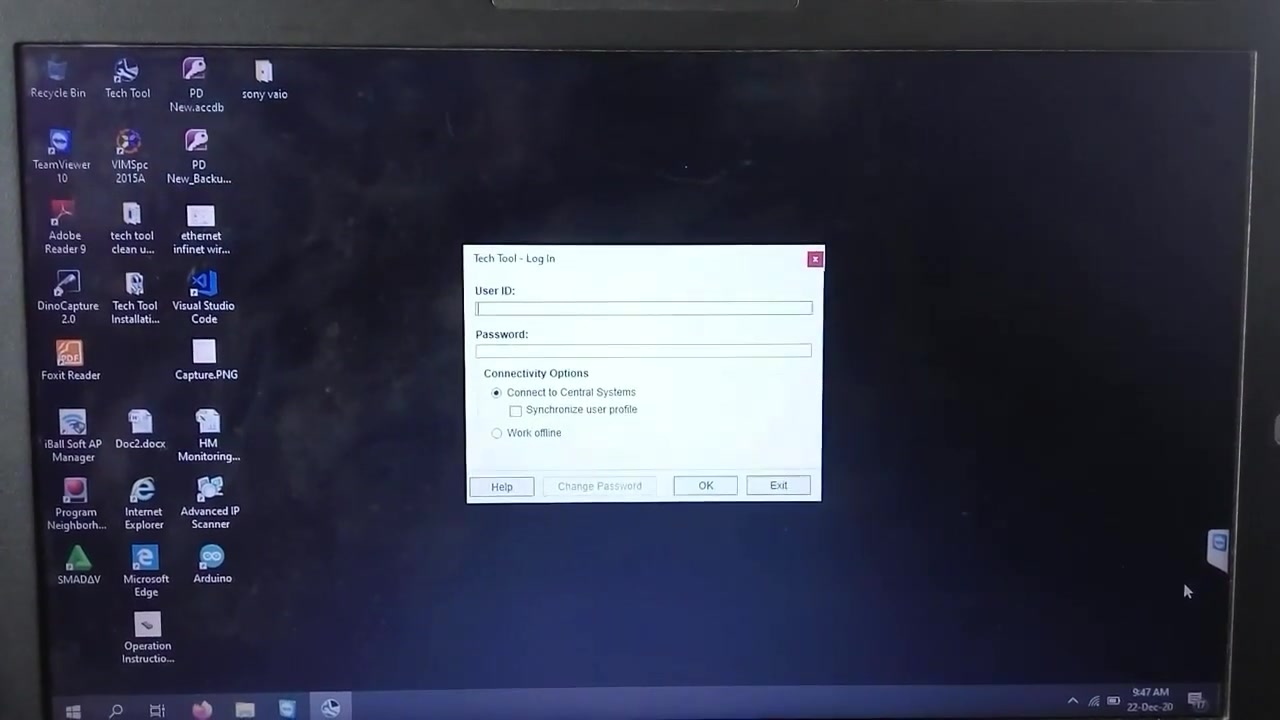
Start by launching Volvo Tech Tool on a laptop that is logged in online – the ‘Online’ symbol confirms full functionality. Connect the VCI (Vehicle Communication Interface) to the truck’s OBD‑II port and power up the vehicle. Once the interface is recognized, select Vehicle → Volvo → FM Series → FM 370 and choose the Engine Control Module (ECM) from the list of control units.
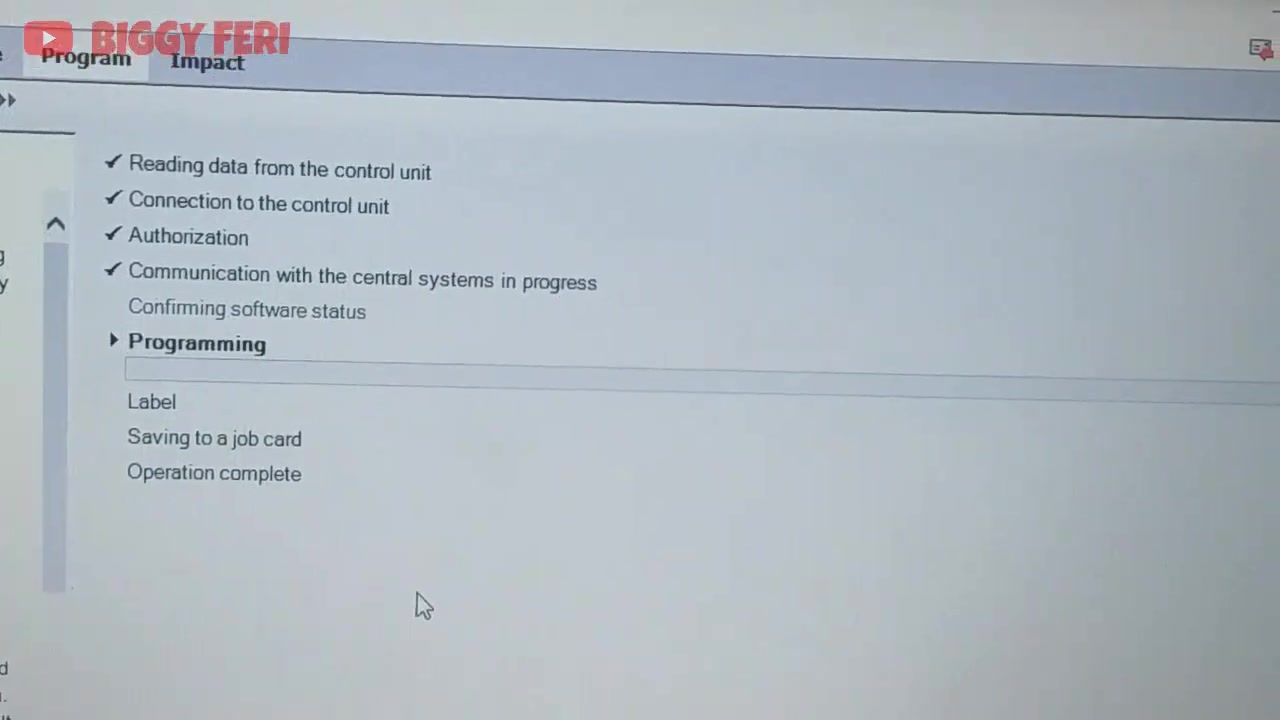
In the ECM screen, click Software Installation/Reprogramming. The tool will display the current software version; click Read Current Version to verify it matches the service bulletin. If an update is required, click Browse and locate the latest .bin file supplied by Volvo. Before initiating the transfer, ensure the “Total Engine Hours” and “Odometer” fields are populated; if they appear blank, the ECU replacement has likely corrupted the data link.
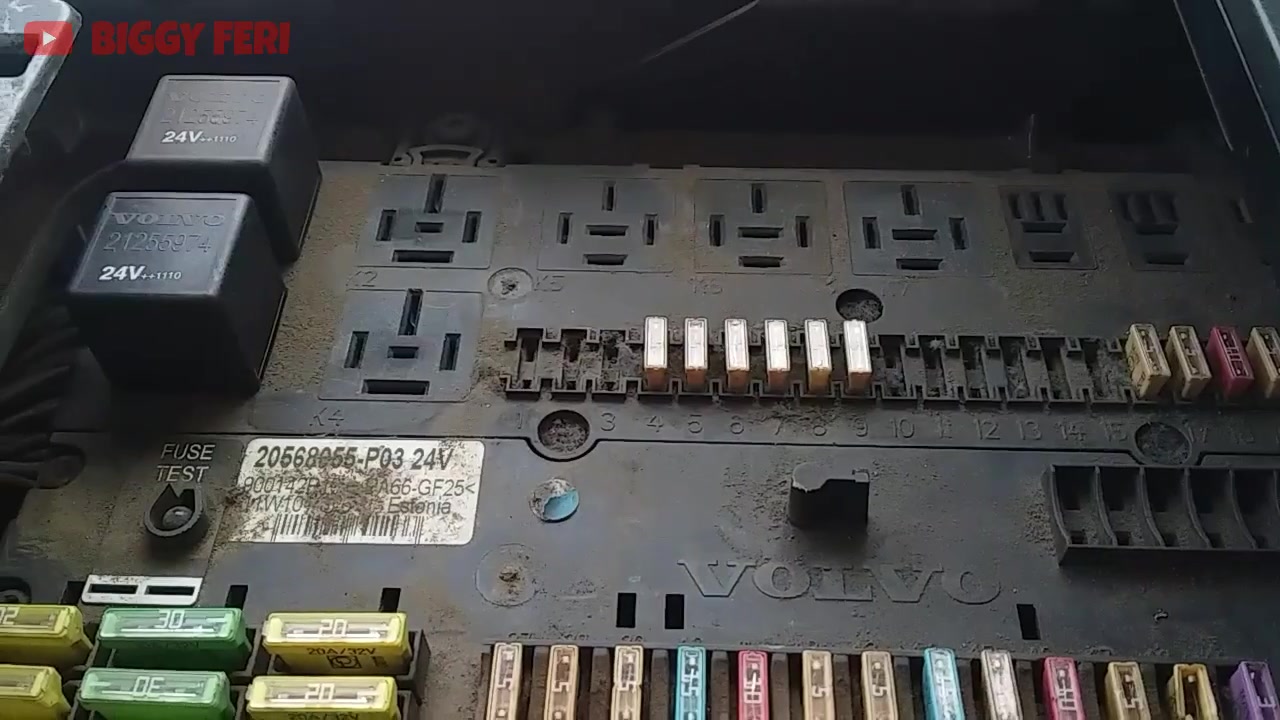
Press Start Transfer. During the transfer you may encounter the error “Operation failed during data transfer for Engine System and Vehicle System.” This is often caused by a communication lock on the Brake ECU (MID 136). To bypass it, remove fuse #48 (ABS/EBS) from the instrument panel fuse box, then restart the transfer. The tool will now proceed without interruption.

After the software is successfully flashed, the system will prompt you to read back the updated parameters. Verify that total engine hours, odometer, and chassis ID are now visible. If the chassis ID still shows divergence on MID 140, disconnect fuse #5 (instrument panel fuse) for 30 seconds, re‑install it, and repeat the read operation. The divergence error should clear.

Next, navigate to Diagnostics → Read Fault Codes. The tool will list any active or stored codes across all systems, including the Brake System (SAE J1939) and Info Display System (MID 128). Use the Clear function to erase codes after confirming repairs. For the Brake System communication error, ensure the J1939 network is intact; a loose connector can trigger the error message.
Proceed to Parameter Programming to adjust engine-specific settings such as fuel injection timing or idle speed. Input the required values as per the service manual, then click Write Parameters. The tool will confirm successful programming for each parameter.
Finally, attempt to start the engine. If the engine cranks but does not fire, the most common cause after a long inactivity period is air trapped in the fuel system. Perform a fuel bleed by loosening the fuel pump priming valve, cranking the engine for 10 seconds, and tightening the valve once fuel flows steadily. After bleeding, restart the engine – it should now run smoothly.
To complete the session, disconnect the VCI, re‑install all removed fuses (fuse #5 and fuse #48), and log out of Volvo Tech Tool. The system will generate a service report summarizing the actions taken, which can be saved or printed for record‑keeping.
Key Features of Volvo Tech Tool
- Full‑range ECU software installation and reprogramming
- Live data streaming and parameter monitoring across all vehicle networks
- Comprehensive fault code reading, analysis, and clearing for J1939, CAN, and proprietary protocols
- High‑speed programming mode with optional communication disabling
- Integrated fuel system bleed guidance and post‑programming verification
- Automatic generation of detailed service reports and electronic signatures
Compatible Vehicles and ECUs
Volvo Tech Tool supports the entire Volvo truck lineup, including FM, FH, FMX, and FL series. Specific ECUs covered in this tutorial are the Engine Control Module (ECM), Brake Control Unit (BCU – MID 136), Information Display System (MID 140), and Vehicle System Interface (MID 128). The tool also communicates with transmission control units, HVAC modules, and telematics devices when required.
Pro Tips
- Always log in to Volvo Tech Tool online; offline mode disables critical functions like high‑speed programming.
- Remove fuse #5 (instrument panel fuse) to clear “Chassis ID Divergence” errors on MID 140 before attempting a read or write operation.
- If the tool cannot disable communications for high‑speed programming, temporarily remove fuse #48 (ABS/EBS) to force the ECU into programming mode.
- After ECU replacement and software installation, bleed the fuel system if the engine does not start, especially after prolonged storage.
- Save a backup of the original ECU software version before flashing; this allows a quick rollback if unexpected behavior occurs.
This guide equips technicians with the exact procedures and troubleshooting steps needed to program Volvo FM 370 ECUs efficiently, reducing downtime and ensuring reliable engine operation.
Frequently Asked Questions
Why are engine hours and odometer not readable after replacing the engine ECU?
This indicates that the new ECU has not yet been programmed with the vehicle’s software.
What does ‘Chassis ID Divergence’ mean in Tech Tool?
It means there’s a mismatch in Chassis IDs between control units, often seen with the instrument panel (MID 140) after an ECU replacement.
How to fix ‘Chassis ID Divergence’ for the instrument panel?
Temporarily remove the instrument panel fuse (fuse #5) to prevent it from communicating during programming.
Why can’t I perform high-speed programming on the engine ECU?
Other control units might be interfering. Remove their power supply fuses (e.g., ABS/EBS fuse #48) to disable their communication.
The engine won’t start after ECU replacement and software installation. What should I do?
If the vehicle has been unused for a long time, perform bleeding on the fuel system to remove air.
Ready to use Volvo Tech Tool in your workshop? Download it directly from firstdiag.com — instant delivery, no subscription needed.