Installing a replacement Engine ECU on a Volvo truck isn’t as simple as swapping hardware. Without the correct software loaded via Volvo Tech Tool (PTT), the new control unit is completely blank — no chassis ID, no software version, no dataset. The truck will throw communication errors across every system and the odometer will read zero. This guide walks through a real-world ECU replacement on a Volvo FM Euro 3 (VIN YV2UM30E8A712412), covering every step from the initial blank-ECU scan to successful engine start — including how to resolve the dreaded Chassis ID Divergence warning that blocks programming.
Vehicle & Setup Details
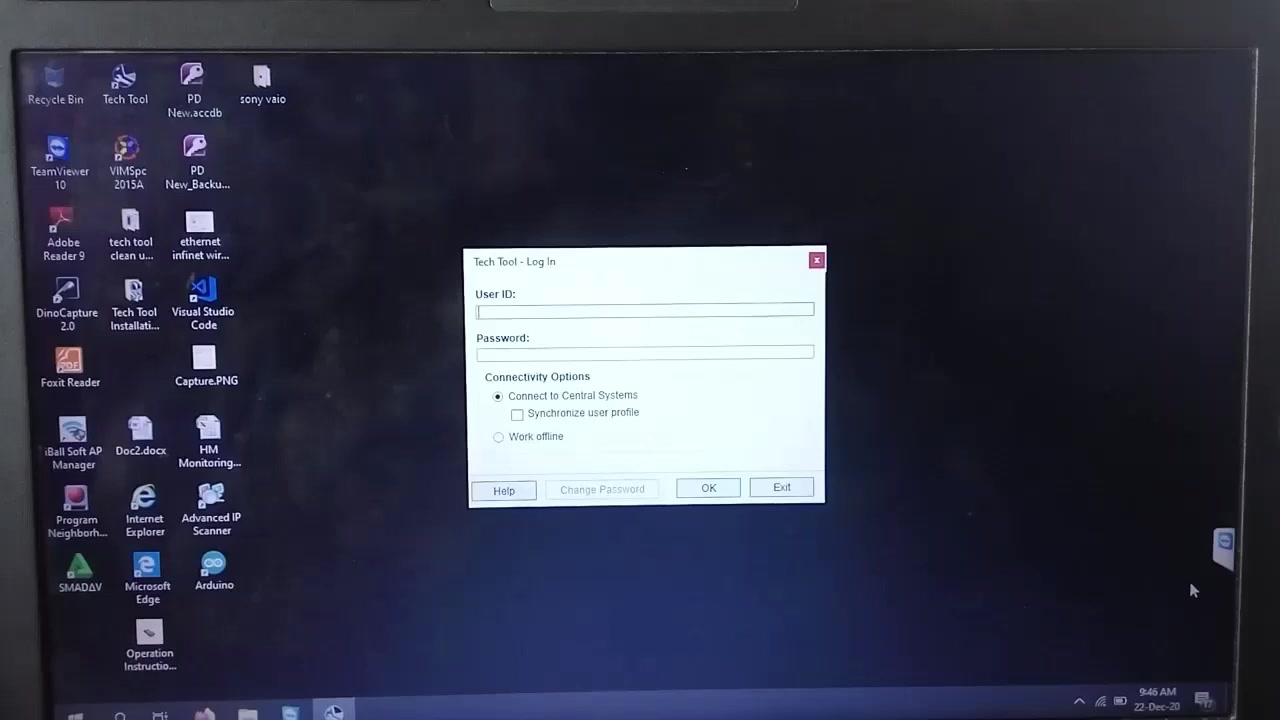
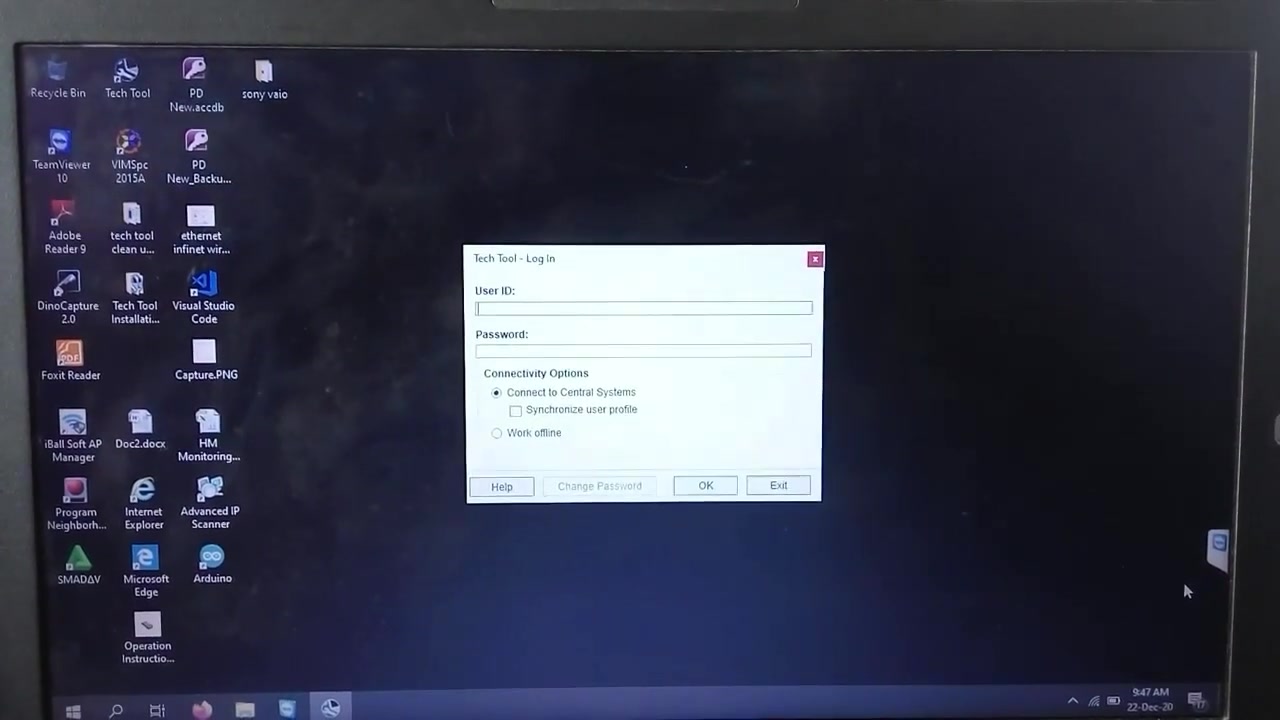
The test vehicle was a Volvo FM with Chassis ID A 712412, running a Euro 3 emission configuration (Electrical System VERSION2). The old Engine ECU (MID 128) had been swapped for a new unit — which arrives from the factory with zero programming. Hardware interface used: VOCOM I via USB. The Tech Tool session was performed on a laptop running Windows, connected to the truck’s OBD2/Deutsch 9-pin data link connector.
| Parameter | Value |
|---|---|
| Vehicle | Volvo FM, Euro 3 |
| VIN | YV2UM30E8A712412 |
| Chassis ID | A 712412 |
| Electrical System | VERSION2 |
| Diagnostic Tool | Volvo Tech Tool (PTT) |
| Hardware Interface | VOCOM I (USB) |
| Control Units Found | 6 (MID 128, 136, 144, 146, 216, 249) |
| Programming Operation | MID 128 — Replace Control Unit |
| Final Result | ✅ Success — Engine started |
Step 1 — Initial Scan Reveals Blank ECU
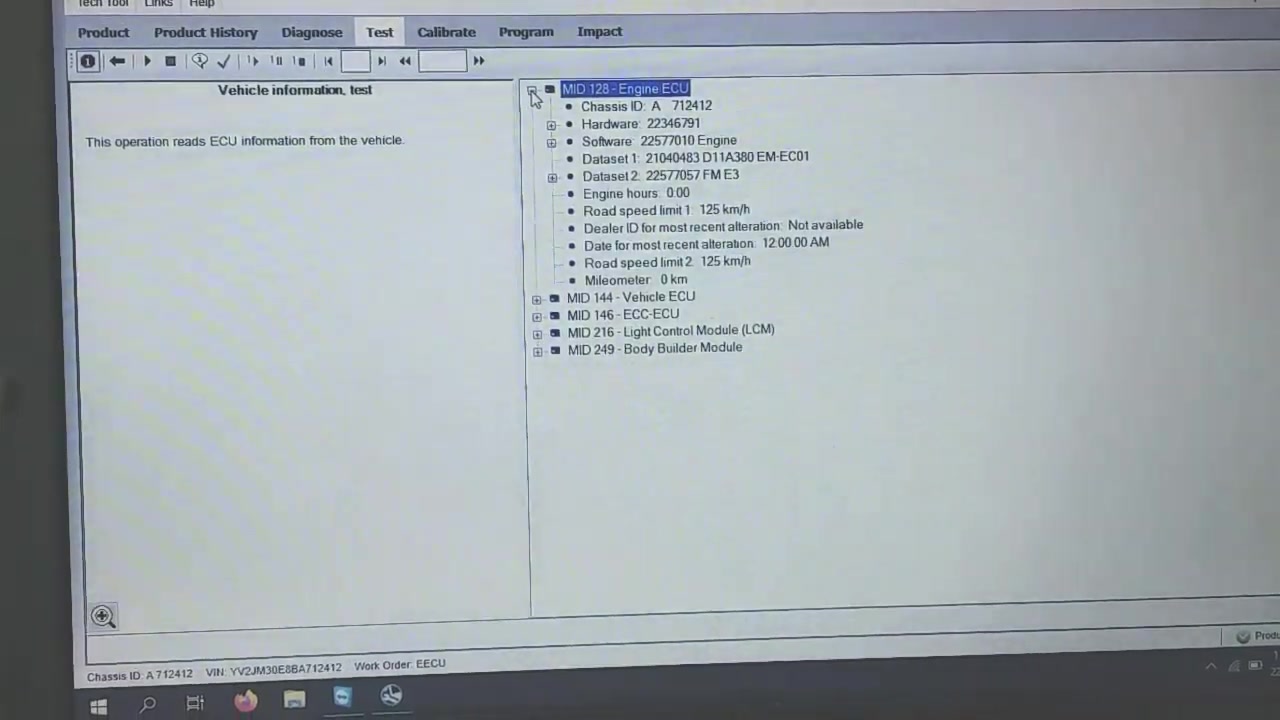
With the VOCOM I connected and Tech Tool launched, the first step is running a Vehicle Information Test. This reads the identification data stored in every control unit on the J1939/J1587 data bus. On a properly programmed truck, every module reports its chassis ID, software version, hardware ID, and dataset.
On this truck, MID 128 (Engine ECU) returned nothing but zeros and “Not available” across every field: Chassis ID, Software, Dataset 1, Dataset 2, Engine Hours 0:00, Mileometer 0 km. This is the expected state for a brand-new, never-programmed control unit. Meanwhile, MID 144 (Vehicle ECU) correctly reported Chassis ID A 712412 and Software 21684767 VECU 4 — confirming the rest of the network was healthy.

Step 2 — Dashboard Fault Codes From a Blank ECU
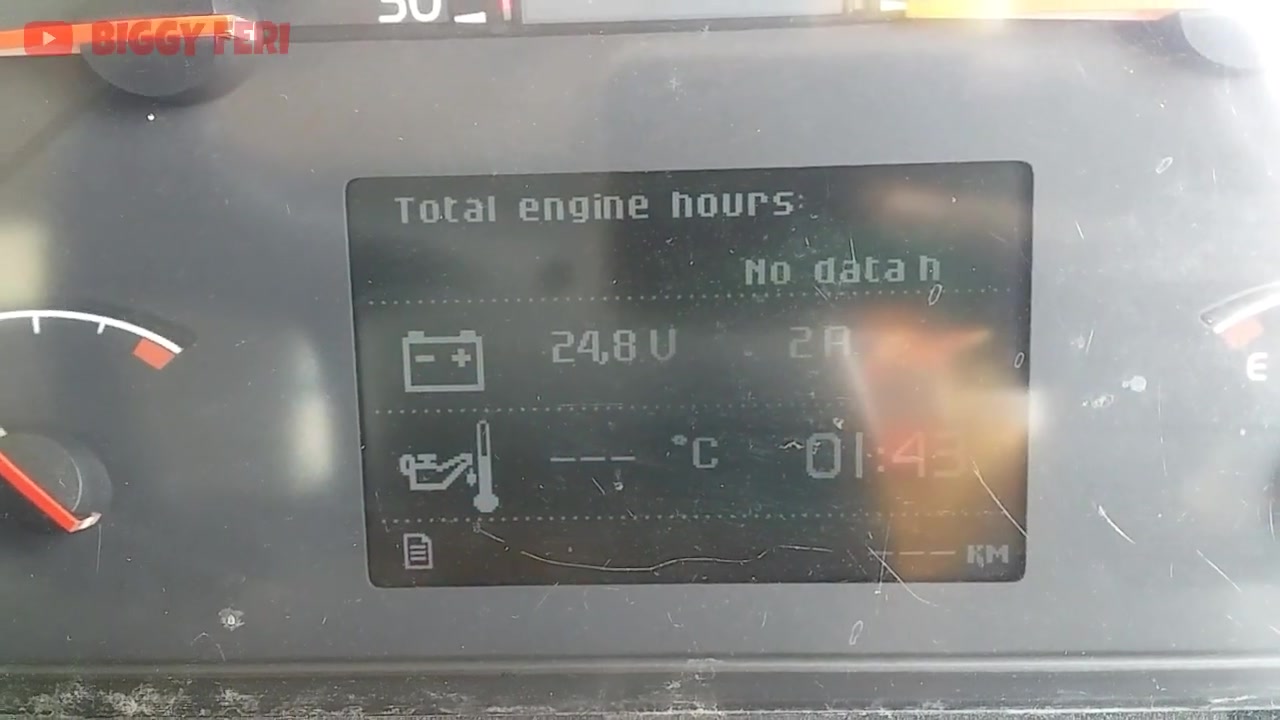
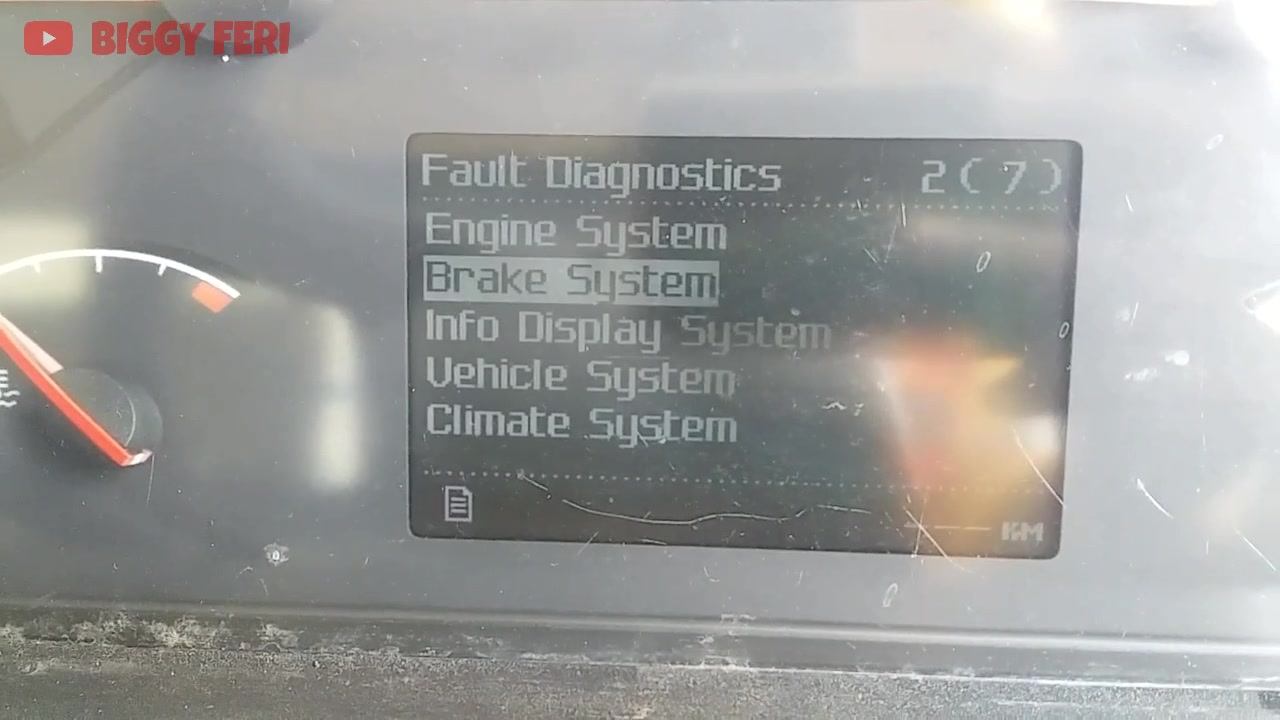
Before programming, the truck’s instrument cluster was flooded with active faults. This is normal behaviour when a new ECU is installed — without software, MID 128 cannot respond to any network requests, so every other module that expects to communicate with the engine ECU logs a communication failure. The dashboard showed:
- Brake System: “SAE J1939 data link Communication error” — Active, 3 events
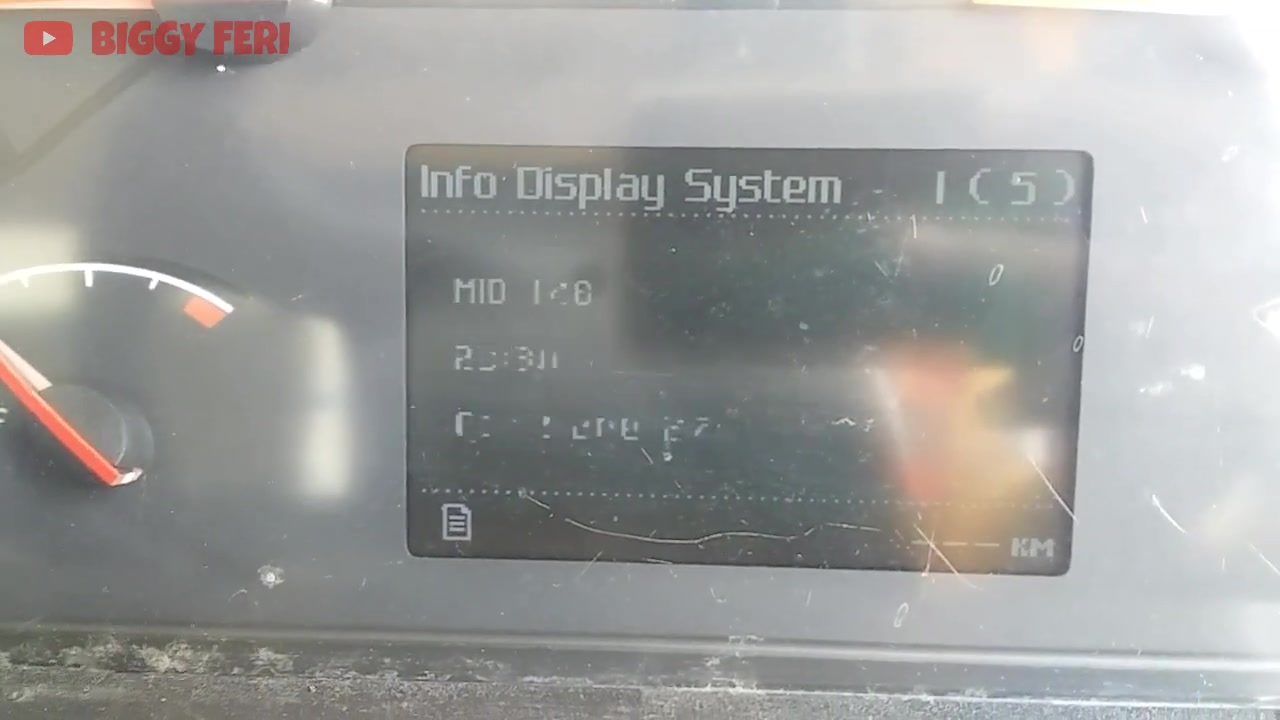
- Info Display System: “Data link MID 128 Communication error” — Active, 5 events
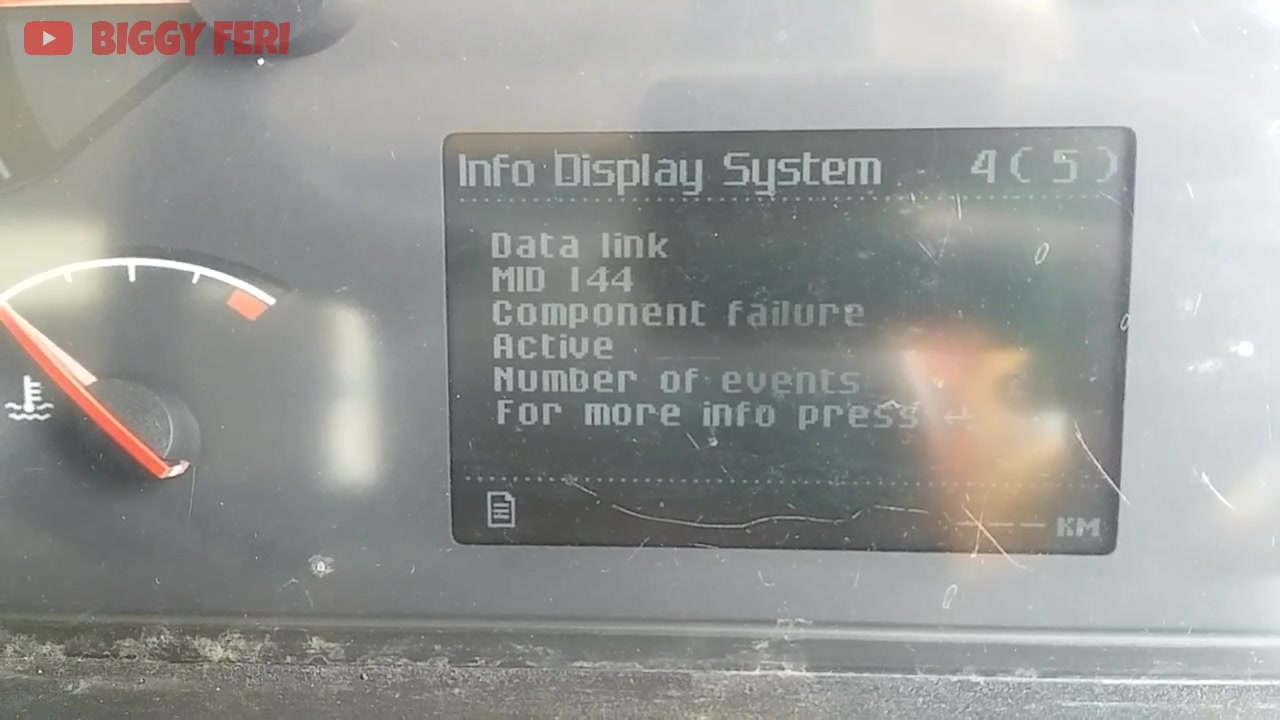
- Climate System: “Data link MID 128 Component failure” — Active, 1 event
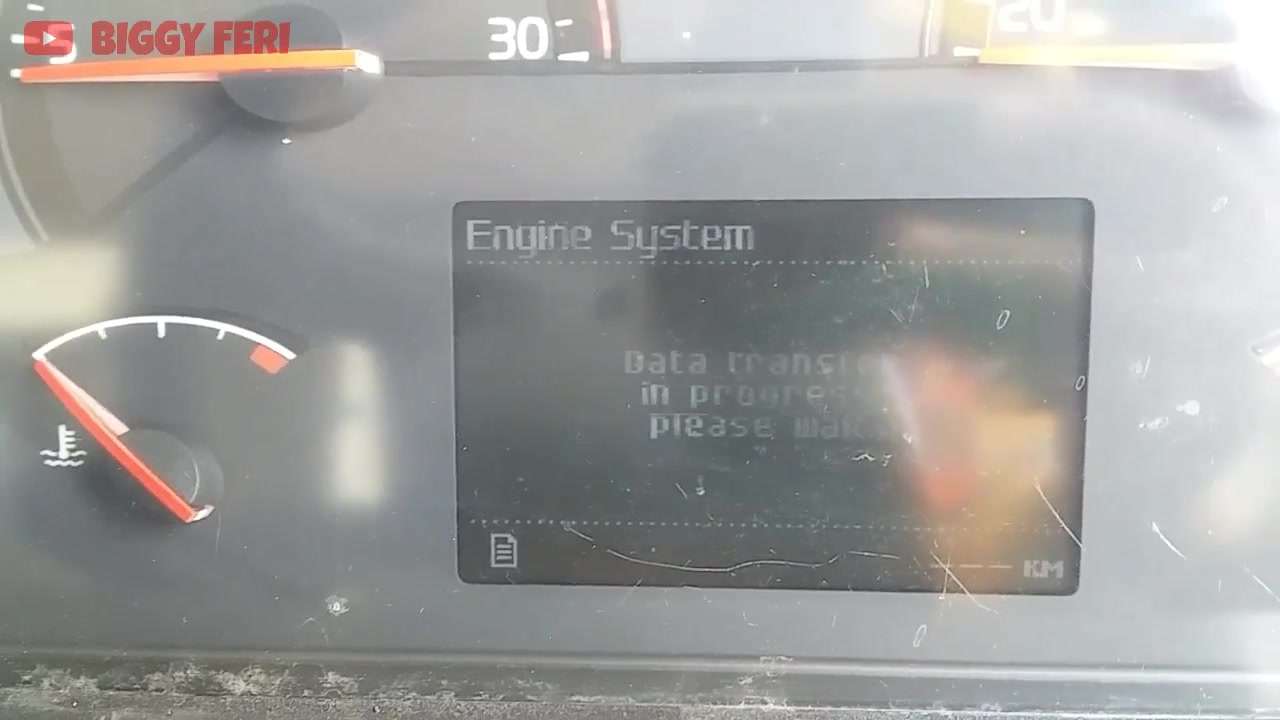
- Vehicle / Body Builder Systems: “Data transfer in progress… Operation failed”
- Engine Hours: “No data h” | Odometer: “0 km”
Step 3 — Chassis ID Divergence: The Programming Blocker
When the mechanic attempted to proceed with programming, Volvo Tech Tool displayed a Chassis ID Divergence warning. This critical error occurs when two or more control units on the same vehicle report different chassis IDs. In this case:
| Module | MID | Chassis ID Reported |
|---|---|---|
| Light Control Module (LCM) | MID 216 | A 712412 ✅ |
| ECC-ECU | MID 146 | A 712412 ✅ |
| Information Display | MID 140 | A 712382 ❌ (CONFLICT) |
The Information Display (MID 140) was reporting chassis ID A 712382 — a different truck. This is a common situation when second-hand modules are transplanted. Left unresolved, this divergence will prevent Tech Tool from completing the programming sequence. The fix: pull Fuse #5, which powers the instrument panel and effectively removes MID 140 from the J1587 data bus during programming. With MID 140 offline, the divergence warning disappears and Tech Tool can proceed.

Step 4 — Programming MID 128 Engine ECU
With Fuse #5 removed (MID 140 offline) and Fuse #48 (ABS/EBS) also pulled to enable high-speed programming mode, the mechanic selected “MID 128 Control unit, programming → Replace control unit” in Tech Tool. The programming sequence requires meeting all pre-conditions before it will begin:
- Battery voltage within specification (typically 24–28V on a 24V truck system)
- Ignition key in the ON position
- VOCOM interface connection stable
- All automatic programming conditions showing green
During the sequence, Tech Tool prompts the technician to cycle the ignition key (off for 10 seconds, then back on) at specific moments. Missing this step will stall or abort the programming. The progress bar for “Programming (high speed)” ran for several minutes before completing with an informational message listing new parameters set to default values: DN, DX, HQX, HQV, HRD, AU, FRK, FRL, DP, DV, 9H, 9G, AJ, KBS, MOO. These defaults indicate the ECU was programmed with the correct software and dataset but may need parameter customisation (road speed limits, fuel maps, etc.) for the specific vehicle application.
Step 5 — Verification & Engine Start
After programming completed, a second Vehicle Information Test confirmed success. MID 128 now reported all fields correctly:
| Field | Before Programming | After Programming |
|---|---|---|
| Chassis ID | Not available ❌ | A 712412 ✅ |
| Hardware | Not available ❌ | 22346791 ✅ |
| Software | Not available ❌ | 22577010 Engine ✅ |
| Dataset 1 | Not available ❌ | 21040483 D11A380 EM-EC01 ✅ |
| Dataset 2 | Not available ❌ | 22577057 FM E3 ✅ |
| Road Speed Limit | — | 125 km/h ✅ |
| Odometer (dashboard) | 0 km ❌ | 266911.2 km ✅ |
The dashboard odometer, which had shown 0 km since the blank ECU was installed, now correctly displayed 266,911.2 km — the stored value from the Vehicle ECU. Engine hours reset to 0h on the new ECU (expected for a replacement unit). The only remaining faults after programming were “Road speed Communication error” and “Road speed Data erratic” — both related to speed sensor calibration, not the ECU programming itself. After reinserting both fuses and performing a manual fuel system bleed (the truck had been sitting for an extended period), the engine started and ran successfully.
Complete Programming Procedure — Quick Reference
| Step | Action | Note |
|---|---|---|
| 1 | Connect VOCOM I via USB, launch Tech Tool PTT | Ensure VOCOM drivers installed |
| 2 | Run Vehicle Information Test — identify blank ECU | MID 128 all fields “Not available” |
| 3 | Check for Chassis ID Divergence warning | Compare all module chassis IDs |
| 4 | Pull Fuse #5 (Instrument Panel / MID 140) | Removes conflicting module from bus |
| 5 | Pull Fuse #48 (ABS/EBS) | Enables high-speed programming mode |
| 6 | Select MID 128 → Programming → Replace control unit | Confirm all pre-conditions are green |
| 7 | Follow ignition key cycle prompts (off 10s → on) | Critical — do not skip |
| 8 | Wait for programming completion + default parameters message | Do not disconnect VOCOM |
| 9 | Re-insert Fuse #5 and Fuse #48 | Restore full bus communication |
| 10 | Re-run Vehicle Information Test to verify | All MID 128 fields should now populate |
| 11 | Bleed fuel system if needed, attempt engine start | Required after extended downtime |
Vehicles Confirmed Compatible — Community Reports
Beyond the Volvo FM shown in this video, users in the community have reported successful Tech Tool operations on the following vehicles and configurations:
- Volvo FM Euro 3 — Full ECU replacement and programming (this guide)
- 2006 Volvo VNL with D12 engine — Used ECU installed; required data link cable reconfiguration after stalling issue
- Volvo D13 — Cranks 4s then shuts down post-ECM change; diagnosed via Tech Tool after bearing inspection
- Volvo Genset TAD 734 GE — Diesel contamination in cooling system diagnosed
- Volvo D-series (200) — Wiper delete parameter adjustment via Tech Tool
- Renault Trucks — APM programming and K-series gearshift parameter adjustments
- Gearbox AT2412D — ECU reset and software installation
- iShift ATO2612D — Used TCM reprogramming (was flashed as AT2612D, required re-flash to correct model)
What Users Are Saying
Terima kasih ilmunya bos.. Bagus dan sangat bermanfaat.. Di tunggu video selanjutnya. 👍👍👍👍
Real user, YouTube comment
Community sentiment around this procedure is overwhelmingly positive. Mechanics from Southeast Asia, the Middle East, and Europe consistently highlight the value of having a proper step-by-step walkthrough for ECU replacement — a task that can result in thousands of dollars of dealer labour costs if done without the right software. The most common follow-up requests from the community were for guides covering injector trim code calibration, parameter programming from scratch, and emergency ECM swap procedures for getting a truck to limp in.
Common Issues & Solutions
| Issue | Cause | Fix |
|---|---|---|
| Programming conditions not all green (battery voltage / key missing) | Low battery or incorrect ignition state | Charge battery to spec (24–28V), ensure key is in ON position before starting programming sequence |
| Truck starts but stalls after used ECU install — data link errors on D12/VNL | Conflict between old ECU data and new network topology; duplicate node on J1587/J1939 | Disconnect one of the data link cables first, re-scan to identify conflicting node, then reconnect and re-program |
| Cannot access Volvo Tech Tool online system | License not activated, network firewall blocking HTTPS port 443 to Volvo servers, or expired subscription | Verify Tech Tool license status in the portal; whitelist Volvo update servers in firewall; check subscription expiry date |
| Chassis ID Divergence blocks programming | Used/transplanted module from different chassis | Remove Fuse #5 (Instrument Panel) to isolate the offending module during programming |
| Programming aborts mid-sequence | Ignition key cycle missed at prompt | Restart programming sequence; carefully follow all ignition key cycle instructions shown on screen |
Frequently Asked Questions
Does replacing an ECU or control unit require reprogramming with Volvo Tech Tool?
Yes — always. Whether you install a brand-new or used ECU, the control unit must be programmed via Volvo Tech Tool to bind it to the vehicle’s chassis ID and load the correct software and dataset for the engine variant. Without this step, the truck will not start and the network will flood with communication errors. Used ECUs from a different chassis carry additional risk of Chassis ID Divergence, which must be resolved before programming will proceed.
Can Volvo Tech Tool be installed or used offline? What do updates cost?
Tech Tool requires an active online connection to Volvo’s licensing server for full functionality, especially for programming and downloading datasets. While the diagnostic interface may function in limited offline mode for reading fault codes, any programming or software update operation requires internet connectivity. Pricing for software access and annual updates is managed through Volvo’s dealer portal — the exact figures are not publicly listed but are subject to regional licensing agreements.
Can I tune for more power or fuel efficiency using Volvo Tech Tool?
Volvo Tech Tool allows adjustment of a wide range of engine parameters, including road speed limits, torque curves, idle settings, and fuel delivery parameters. However, it is primarily a diagnostic and programming tool, not a performance tuning platform. Significant power increases beyond factory spec typically require changes to the ECU dataset or firmware that fall outside standard Tech Tool operations. For fuel efficiency, parameters such as progressive shifting thresholds and cruise control settings can be optimised within the permitted range.
How do I change the VIN on a Volvo truck using Tech Tool?
VIN (chassis ID) programming in Volvo Tech Tool requires an online connection for validation — Volvo’s servers must confirm the chassis record before allowing any ID change. This is a deliberate anti-theft and fleet management safeguard. Attempting a VIN change without internet access or proper authorisation will be blocked by the software. The procedure is typically performed by authorised Volvo dealers during chassis repairs or module replacements.
Can DPF or EGR systems be deleted using Volvo Tech Tool?
Tech Tool provides access to emissions-related parameters, but DPF/EGR removal or deletion is not a standard, supported function within the official software. Achieving this typically involves parameter manipulation beyond what standard Tech Tool menus expose, or requires third-party calibration files applied to the ECU dataset. On Euro 3–5 trucks using file-based ECU tuning tools such as KTag or Kess V2, DPF/EGR modifications can be applied directly to the ECU binary without Tech Tool involvement.
How do I program parameters using Volvo Tech Tool?
Parameter programming follows the same general flow as shown in this guide: connect via VOCOM, select the target module, navigate to Programming → Parameters, and adjust values within the allowed range for your vehicle specification. Each parameter has a permitted min/max range defined by Volvo. After changes are made, a re-read confirms the values were written correctly. Some parameters require an ignition cycle to activate. Always document the original values before making any changes.
Is it possible to back up and clone an ECU using Volvo Tech Tool?
Tech Tool does not provide a direct “clone ECU” function for copying one unit’s full binary to another. Individual parameters can be read and noted for reference, but a full ECU clone for emergency backup purposes is not a built-in feature. For full ECU cloning — for example, to create a hot-spare for a fleet truck — a file-based tuning tool that reads and writes the raw ECU binary is required. Tech Tool’s programming function writes from Volvo’s central data servers, not from a local backup file.
What should I do if programming conditions are not all green?
All programming pre-conditions must show green before the sequence will proceed. The most common blockers are: (1) Battery voltage — connect a battery charger/maintainer and wait for voltage to stabilise above the minimum threshold; (2) Ignition key position — ensure the key is turned to the ON/RUN position, not START or ACCESSORY; (3) Interface connection — confirm VOCOM I is detected in Windows Device Manager and the Tech Tool status bar shows “Connected”. If all three are confirmed and conditions still show red, restart Tech Tool and re-attempt.
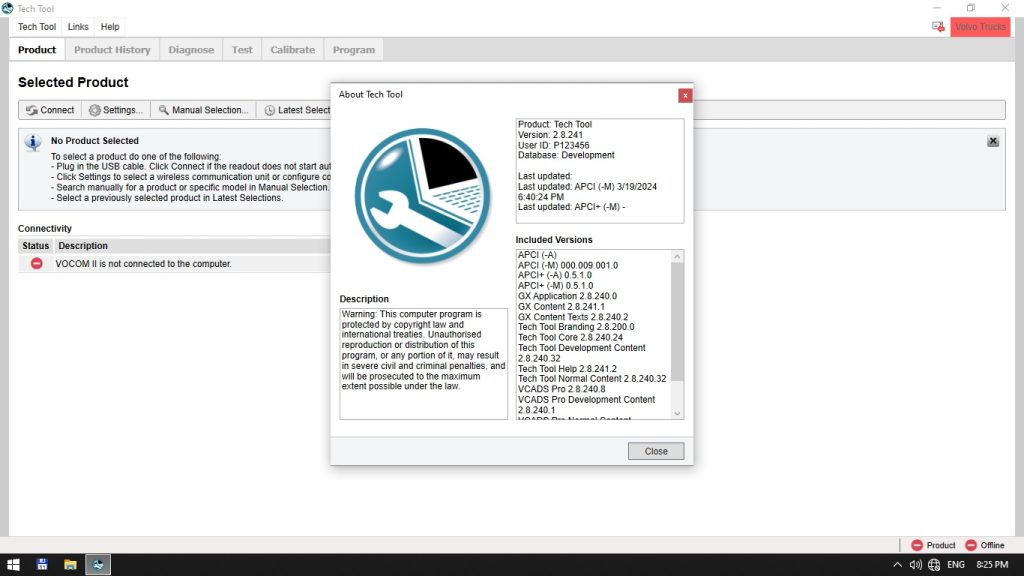
Get Volvo Tech Tool — VMware Ready Package
The full ECU programming workflow shown in this guide — module scanning, Chassis ID Divergence resolution, software installation, parameter verification — requires Volvo Tech Tool PTT v2.8.241. Our VMware package includes the complete Tech Tool environment pre-configured in a virtual machine, eliminating driver conflicts, Windows compatibility issues, and licence activation headaches. Download, import, connect your VOCOM interface, and start programming.