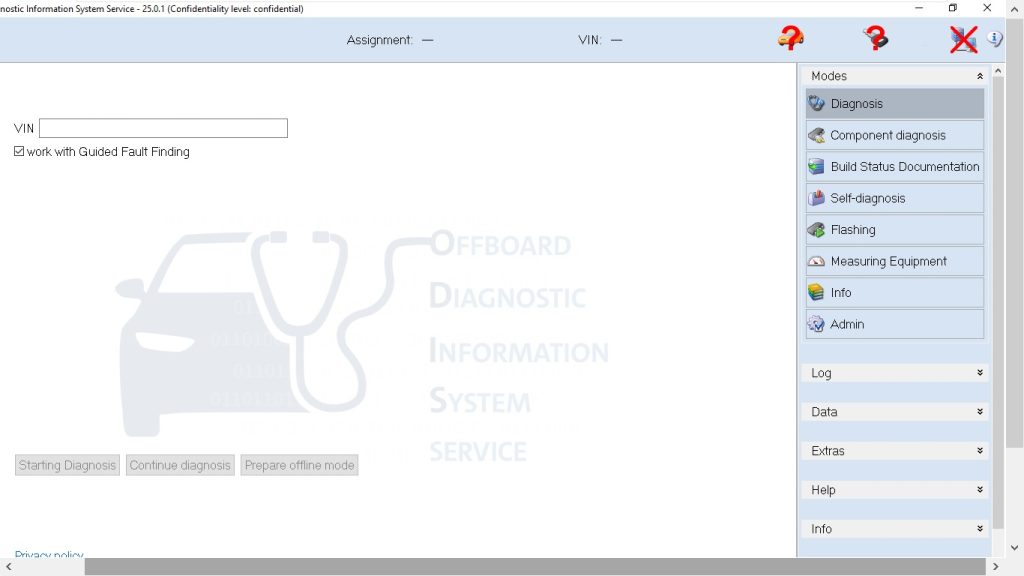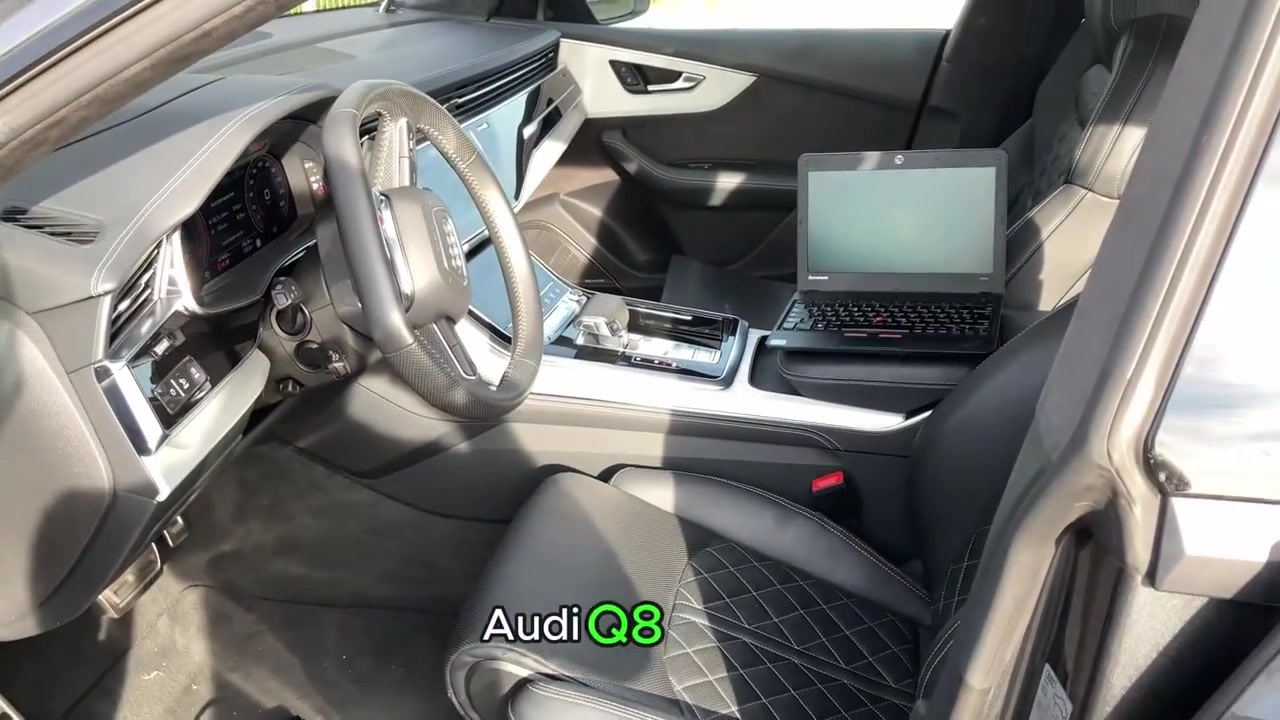
Offboard Diagnostic Information System Engineering 9.1.3 (ODIS‑E 9.1.3) is the VAG‑Group’s latest diagnostic suite, offering fast DoIP communication and comprehensive vehicle coverage. This tutorial shows how to connect a DIY DoIP LAN cable, select a vehicle, read and clear fault codes, and monitor live data on Audi Q8 (2019), ID.3, Golf 8 and Caddy 5.
What You Will Learn
- How to build a custom DoIP cable from an OBD‑II connector and a standard LAN cable.
- How to configure the network interface on a laptop for DoIP communication.
- How to select a DoIP‑enabled vehicle in ODIS‑E 9.1.3.
- How to read the Ereignisspeicher (event memory) and retrieve fault codes.
- How to view real‑time Messwerte (live data) from key ECUs.
- How to clear fault codes safely after repair.
- How to verify a successful DoIP link before launching ODIS‑E.
Step-by-Step Walkthrough
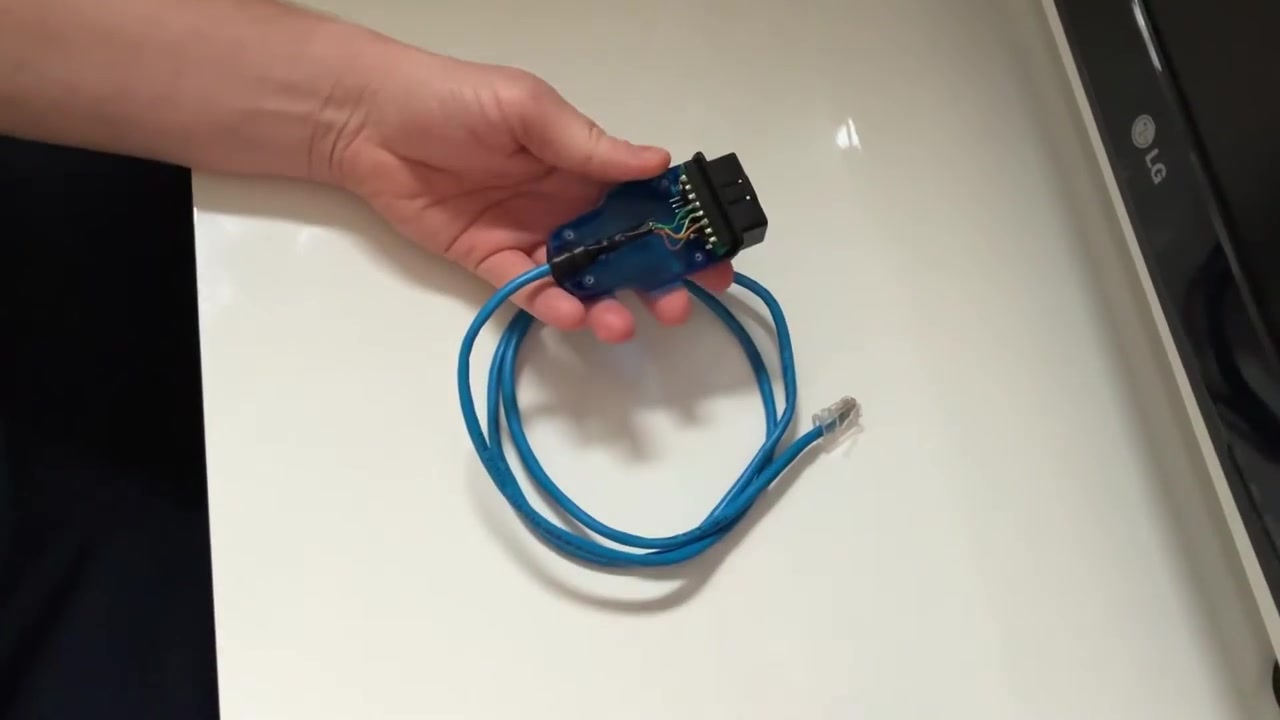
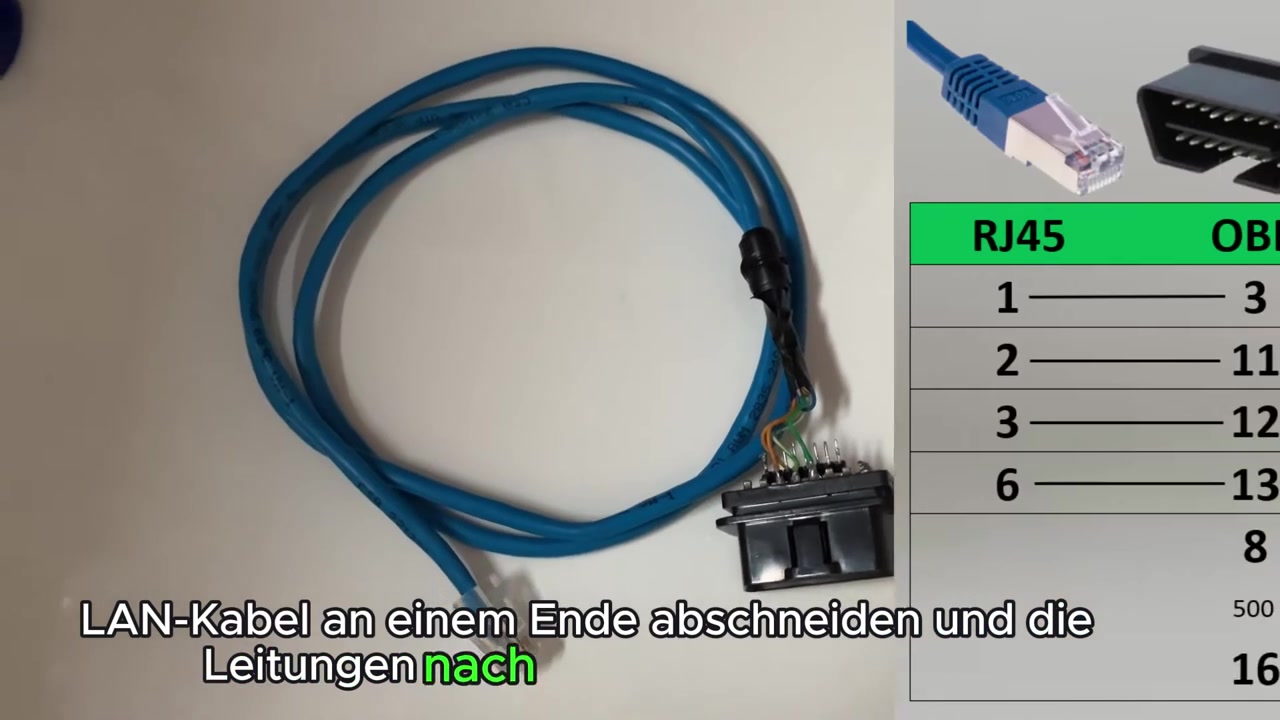
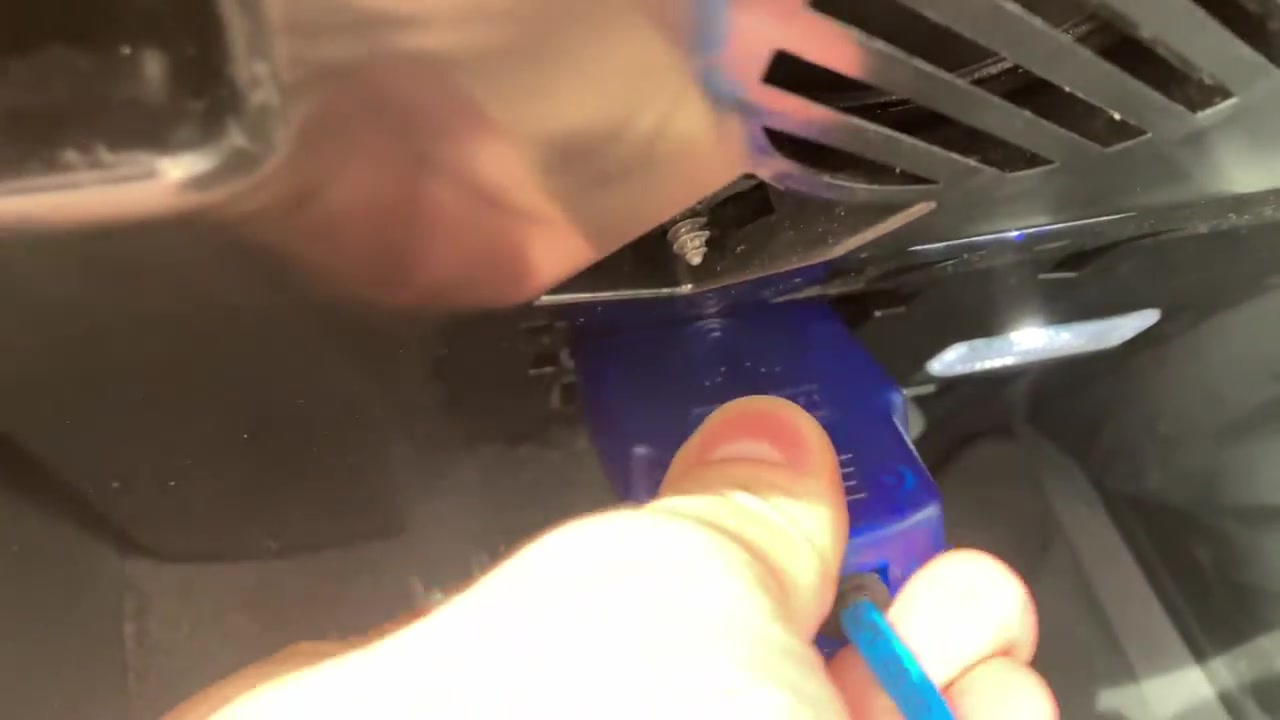
Begin by preparing the custom DoIP cable. Cut one end of a Cat‑5e LAN cable and strip the individual wires. Solder the four required conductors to the OBD‑II connector according to the pin assignment: RJ45 pins 1, 2, 3, 6 map to OBD‑II pins 3, 11, 12, 13 respectively. Connect OBD‑II pins 8 and 16 directly—no resistor is needed. Once the cable is assembled, plug the OBD‑II side into the vehicle’s diagnostic port and the RJ45 side into a free Ethernet port on your laptop.
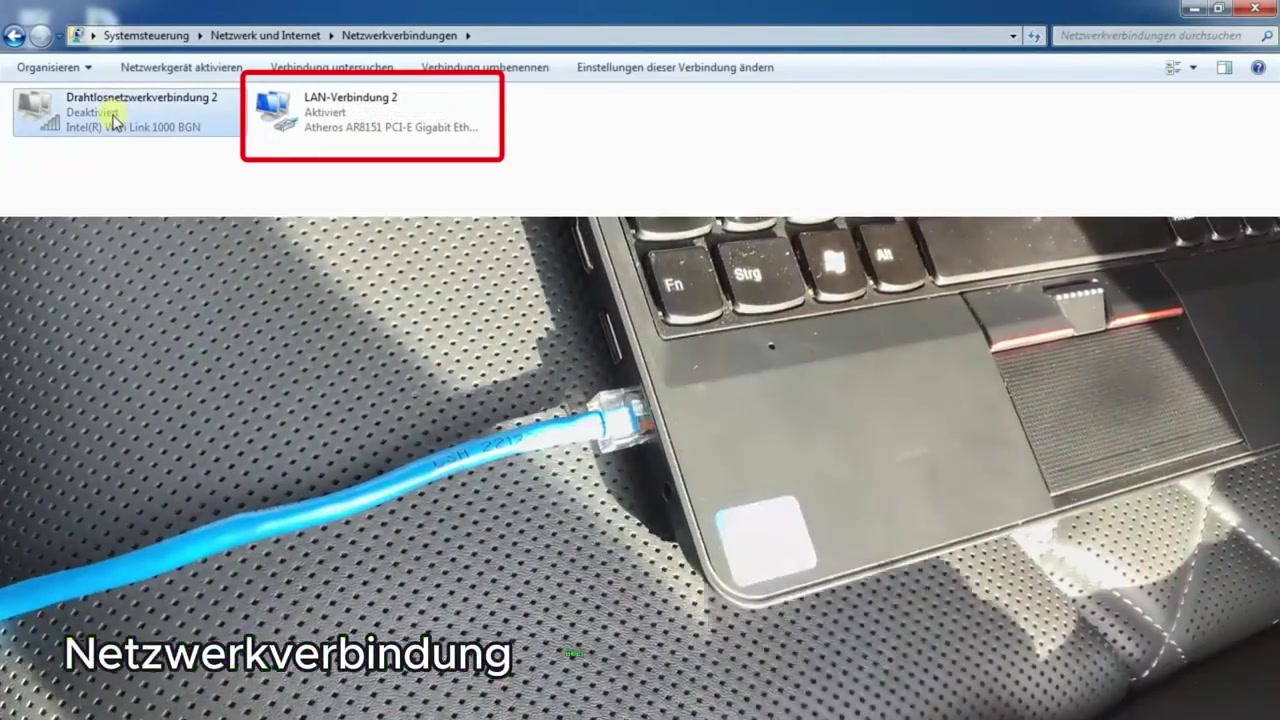
Next, configure the laptop’s network settings. Open the Ethernet adapter properties, set the IP address to a static value compatible with the vehicle’s DoIP range (commonly 192.168.0.10) and enable “Internet Protocol Version 4 (TCP/IPv4)”. Apply the settings and confirm link status with ping 192.168.0.2 (the vehicle’s default DoIP address). A successful reply indicates that the DoIP network connection has been established.
Launch ODIS‑E 9.1.3. On the start screen, choose “Vehicle Selection” → “DoIP”. The software will scan the Ethernet interface and display any DoIP‑enabled control units. Select the appropriate model year—2019 or newer for VAG Group cars—and confirm. ODIS‑E will load the corresponding ECU database and establish a secure session.
With the session active, navigate to the “Fault Code” module. Click “Read Event Memory” to download the Ereignisspeicher from all detected ECUs. The list will show stored DTCs, timestamps, and occurrence counters. Use the filter options to isolate codes from specific modules such as the Engine Control Module (ECM) or Body Control Module (BCM).
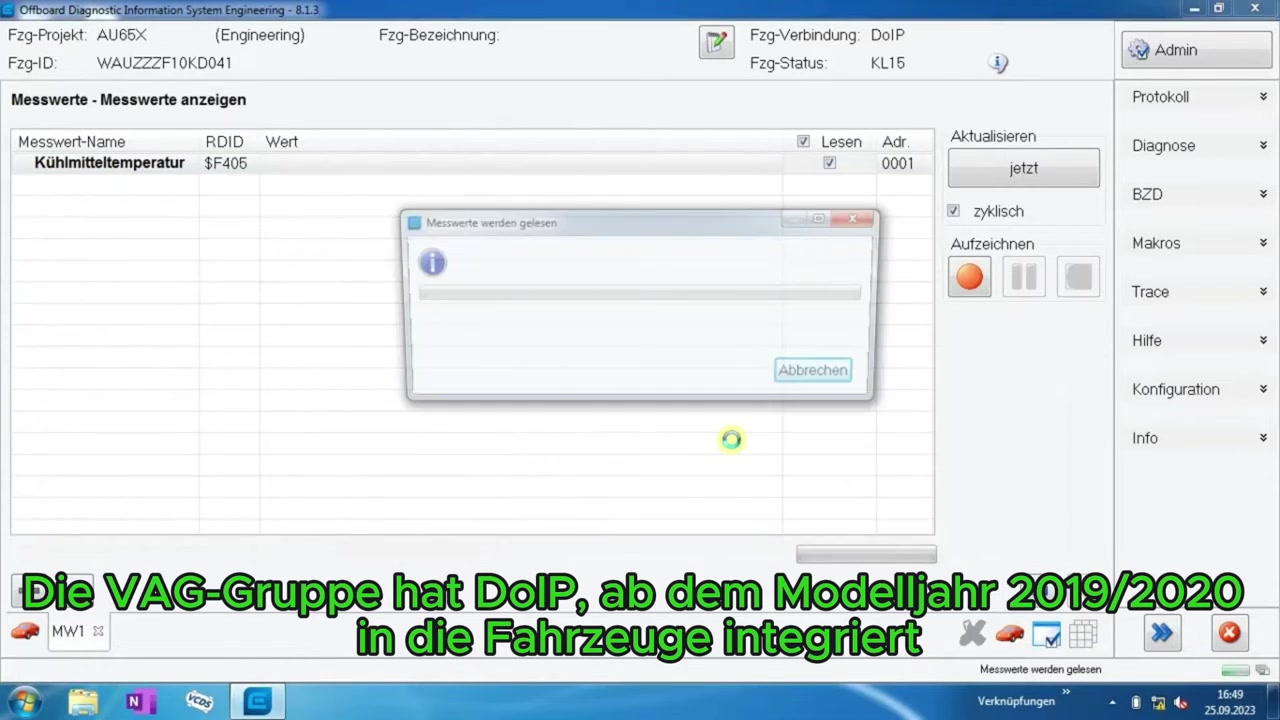
To monitor live data, open the “Live Data” window and select a channel (e.g., engine speed, coolant temperature, or battery voltage). ODIS‑E streams Messwerte in real time over DoIP, allowing you to verify sensor operation while the vehicle is idling or under load. Adjust the update rate to suit the diagnostic need—50 ms for fast‑changing parameters, 500 ms for slower signals.
If repair work has been performed, clear the stored fault codes. In the “Fault Code” module, click “Clear Event Memory”. ODIS‑E will prompt for confirmation; after acceptance, the ECU acknowledges the clear command and the DTC list becomes empty. Verify the clearance by re‑reading the event memory.
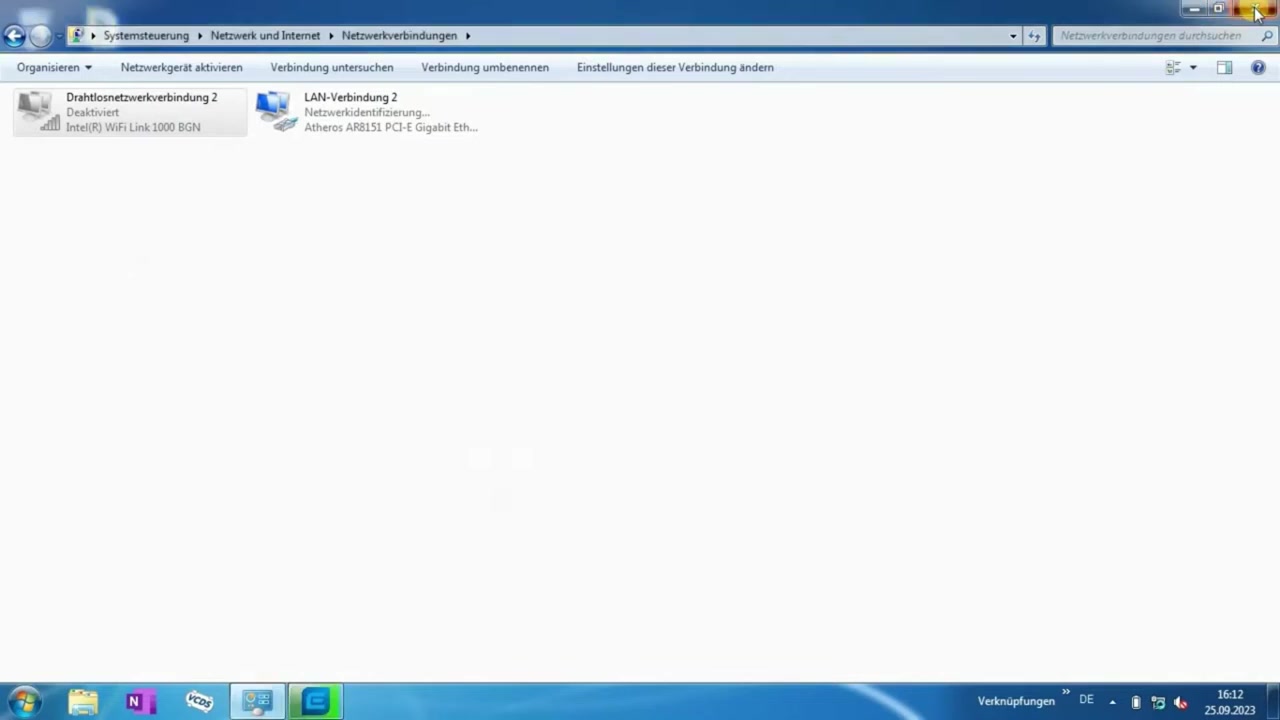
Finally, disconnect safely. End the DoIP session in ODIS‑E, unplug the RJ45 connector, and restore the laptop’s Ethernet adapter to DHCP mode if it will be used for other networks. Document the diagnostic session by exporting the report as a PDF—ODIS‑E provides a ready‑to‑print summary that includes vehicle identification, performed actions, and captured live data graphs.
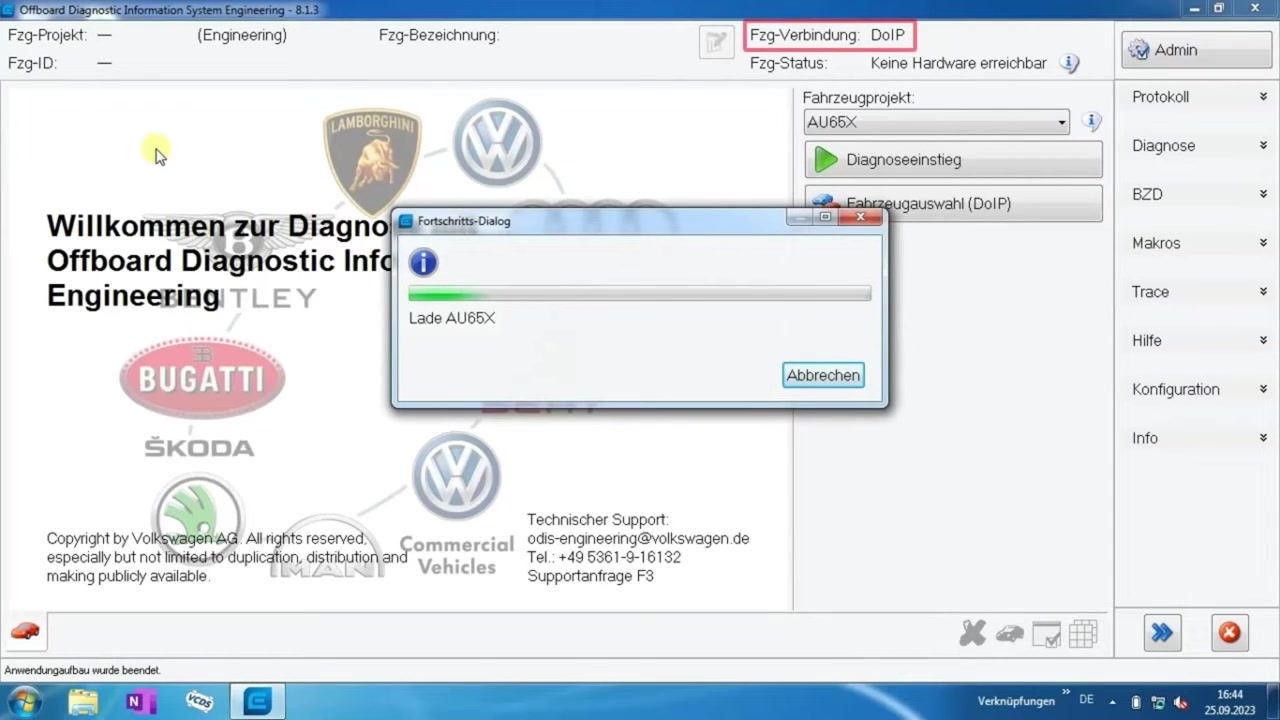
Troubleshooting tips are embedded throughout the video; for example, if the vehicle does not appear in the DoIP scan, re‑check the cable pinout, verify that pins 8 and 16 are shorted correctly, and ensure that no other network devices are sharing the same Ethernet segment.
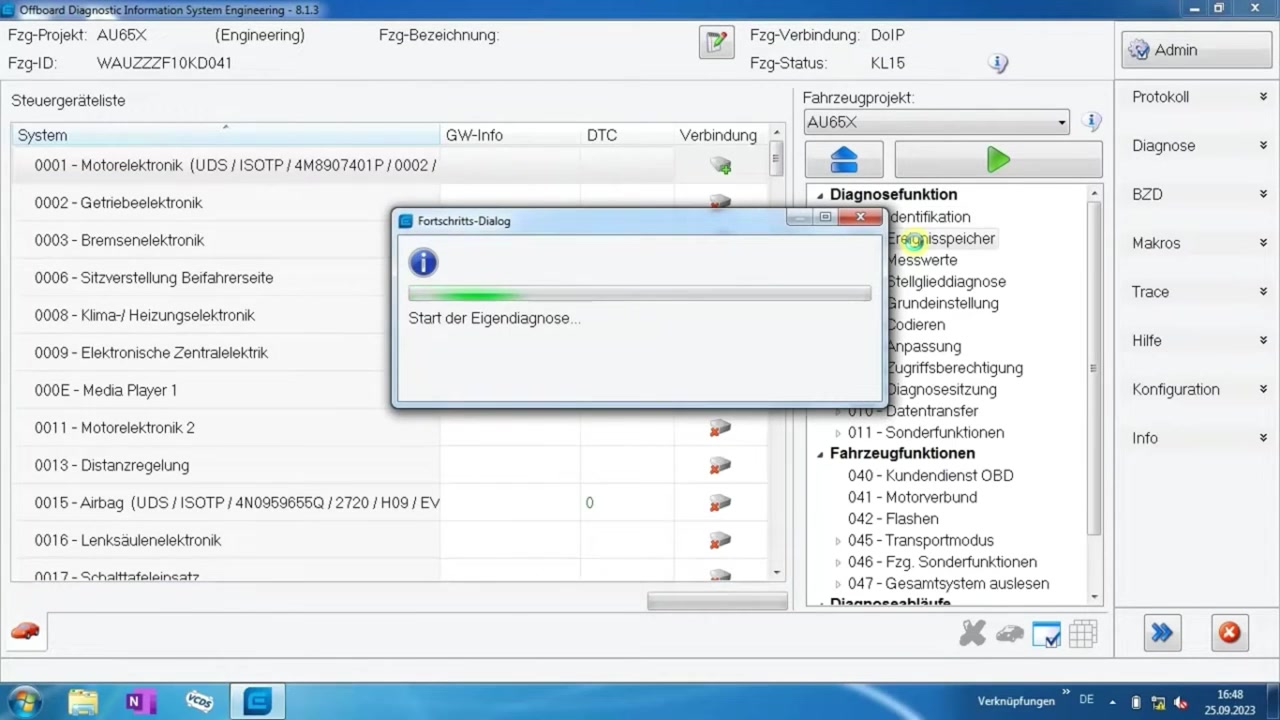
A final sanity check is to view the “Connection Log” in ODIS‑E, which records handshakes, protocol versions, and any error frames. This log is invaluable when diagnosing intermittent DoIP failures.
Key Features of Offboard Diagnostic Information System Engineering 9.1.3
- Native DoIP support with automatic ECU detection for 2019‑2024 VAG Group models.
- Integrated Ereignisspeicher reader that extracts timestamps, occurrence counters, and freeze frame data.
- High‑resolution live data acquisition (up to 100 Hz) over Ethernet without additional hardware.
- One‑click fault‑code clearing with verification against the vehicle’s security access levels.
- Customizable diagnostic sessions that allow selective ECU polling to reduce bus load.
- Comprehensive reporting engine that generates PDF, CSV, and HTML summaries.
Compatible Vehicles and ECUs
The demonstrated adapter works with the following VAG Group models and their major control units:
- Audi Q8 (model year 2019‑2024) – Engine, Transmission, Body, Infotainment.
- Volkswagen ID.3 (2020‑2024) – High‑voltage battery, Motor controller, HVAC.
- Volkswagen Golf 8 (2019‑2023) – Powertrain, ADAS, Comfort system.
- Volkswagen Caddy 5 (2020‑2024) – Commercial‑grade ECU, Trailer assist, Telematics.
Pro Tips
- Use a high‑quality Cat‑5e or Cat‑6 cable to minimise signal attenuation; a twisted‑pair layout matches the DoIP physical layer requirements.
- When soldering, trim excess wire and apply heat‑shrink tubing to each connection to prevent short circuits and improve durability.
- Pin 8 (Battery) and Pin 16 (Ground) can be linked directly, but adding a 120 Ω resistor between them can help emulate the factory cable’s termination and reduce false‑positive link errors.
- Always verify that the laptop’s firewall allows inbound/outbound traffic on UDP ports 13400‑13403, which are used by DoIP.
- For vehicles equipped with multiple gateways, select the correct gateway ECU in ODIS‑E’s “Gateway Selection” dialog to avoid communication timeouts.
By mastering the DIY DoIP cable and the full capabilities of ODIS‑E 9.1.3, technicians can perform fast, reliable diagnostics on the latest VAG Group models without costly proprietary adapters.
Frequently Asked Questions
What is DoIP?
DoIP stands for Diagnostic over Internet Protocol.
How to connect ODIS-E to a DoIP vehicle?
Use a custom-made OBD-II to RJ45 cable, connect to the car’s OBD-II port and the laptop’s Ethernet port, then configure the network connection on the laptop and select DoIP in ODIS-E.
Ready to use Offboard Diagnostic Information System Engineering 9.1.3 in your workshop? Download it directly from firstdiag.com — instant delivery, no subscription needed.