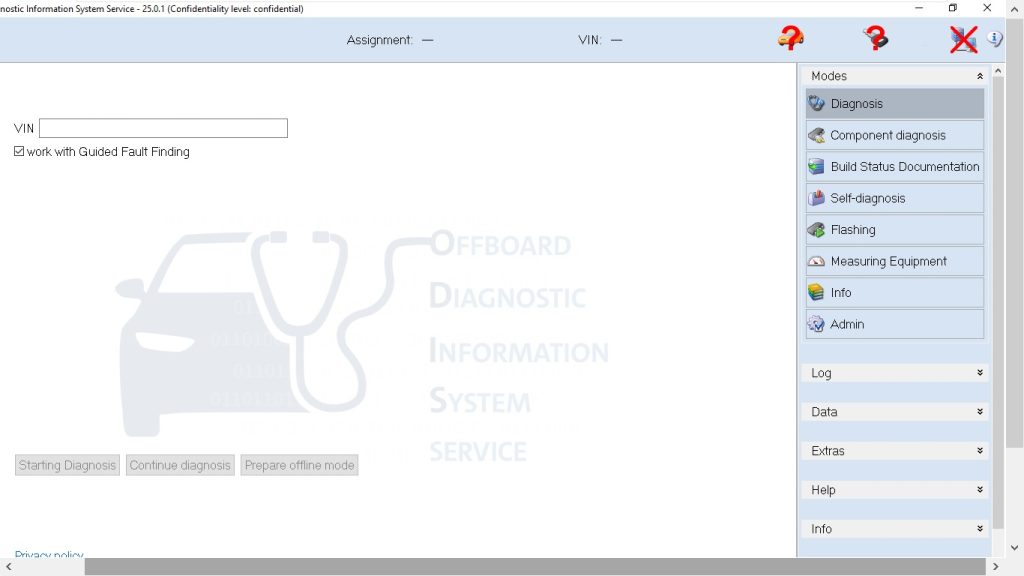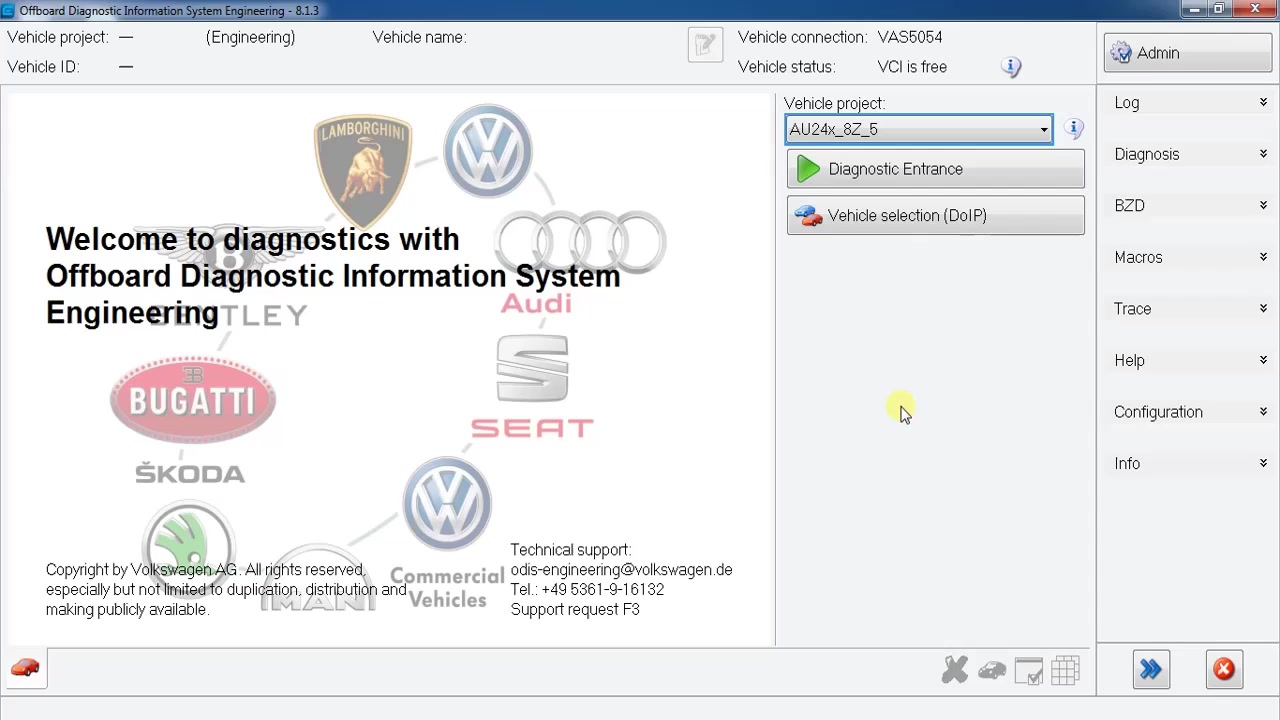
Offboard Diagnostic Information System Engineering 9.1.0 (ODIS Engineering) is the industry‑standard software for deep ECU programming, diagnostics, and coding on VW Group vehicles. This tutorial walks professional truck and car technicians through selecting a vehicle project, accessing the diagnostic entrance, identifying control modules, flashing an ECU, and clearing DTC memory, all while highlighting the critical power‑supply warning.
What You Will Learn
- How to create and select a vehicle project in ODIS Engineering 9.1.0
- How to open the diagnostic entrance and navigate the control module list
- Methods for accurately identifying the target ECU among multiple modules
- Step‑by‑step ECU flashing procedure, including software update upload
- How to clear stored diagnostic trouble codes after flashing
- Best practices for maintaining a stable power supply during programming
- How to troubleshoot common flashing warnings and errors
Step-by-Step Walkthrough
Start by launching ODIS Engineering 9.1.0 on a compatible Windows workstation. From the main screen, click the Project icon and choose Create New Project. Enter the VIN or select the vehicle family (e.g., VN35X, Audi, Volkswagen) and confirm. The software will load the appropriate control unit database for the selected model.
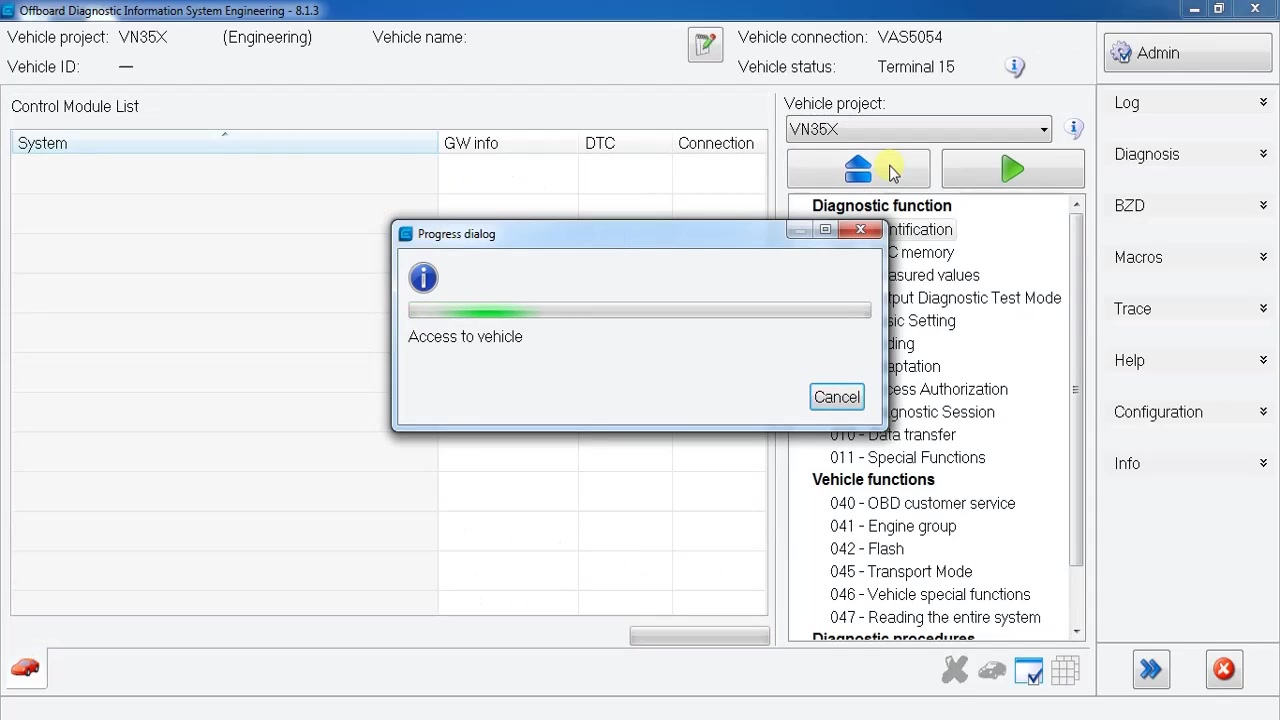
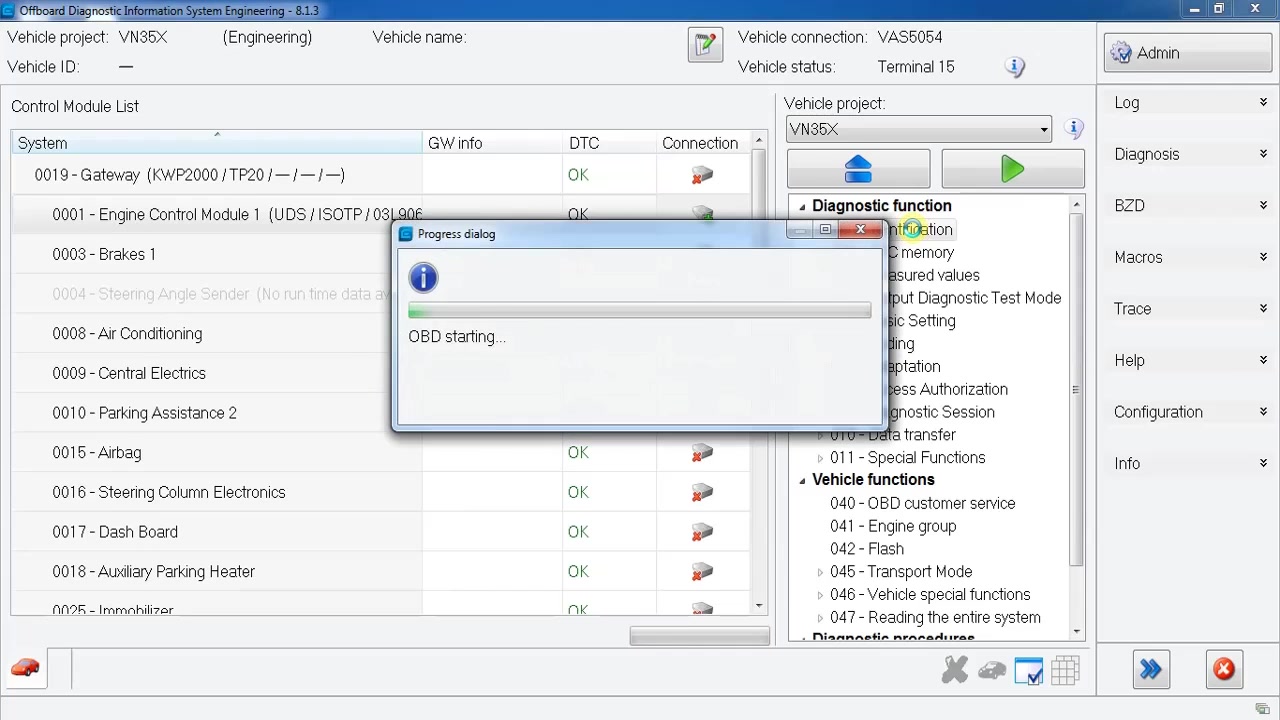
Once the project is created, navigate to the Diagnostic Entrance tab. Here you will see a list of all available communication interfaces (e.g., K‑Line, CAN, Ethernet). Choose the interface that matches your hardware adapter and click Connect. A successful connection is indicated by a green status light.
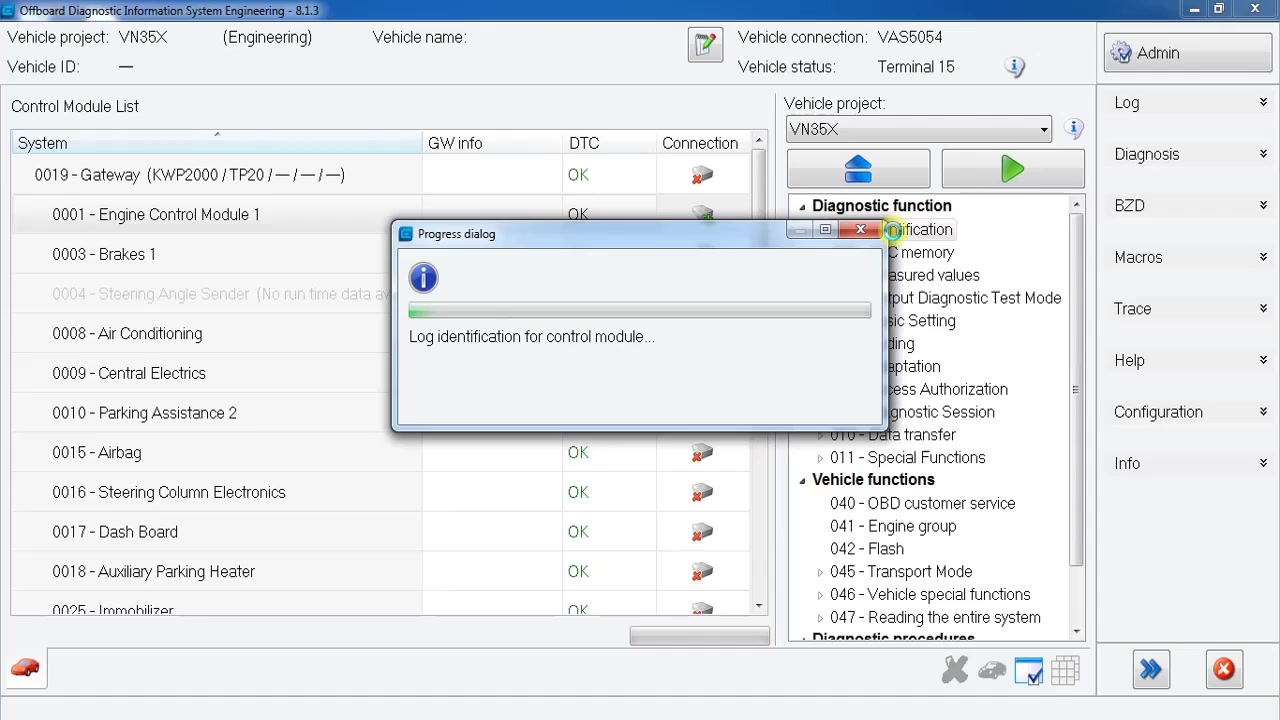
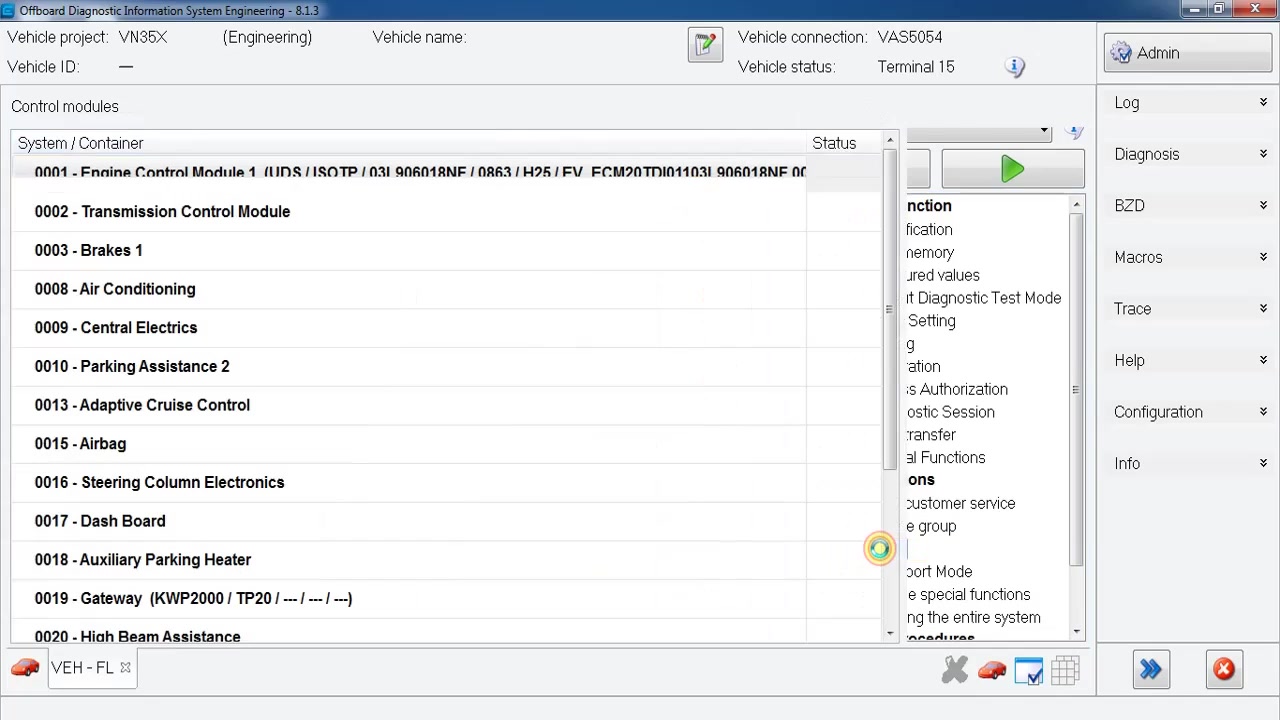
After establishing communication, open the Control Module List. ODIS Engineering automatically populates the list with every ECU detected on the vehicle’s network. Use the filter box to narrow the view to the specific module you intend to flash, such as the Engine Control Unit (ECU) or Transmission Control Module (TCM). Highlight the target module and press Identify to retrieve detailed information, including part number, software version, and hardware revision. This step confirms you are addressing the correct unit before any programming begins.
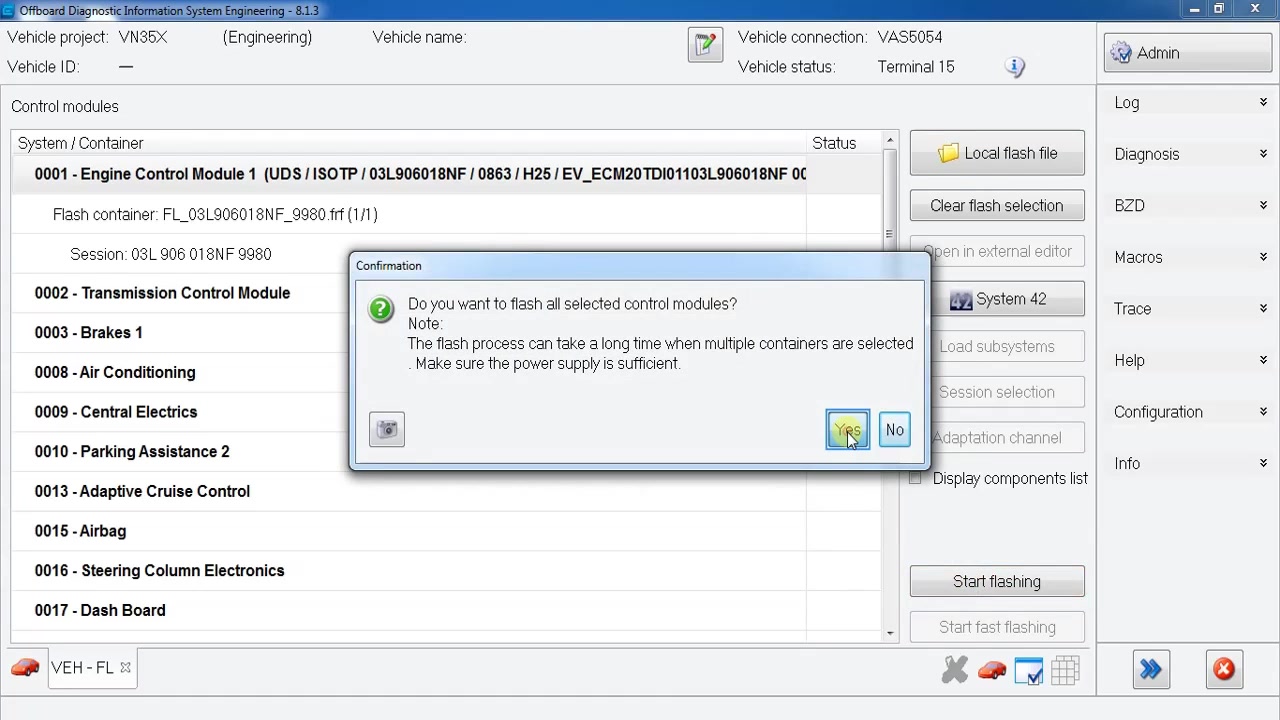
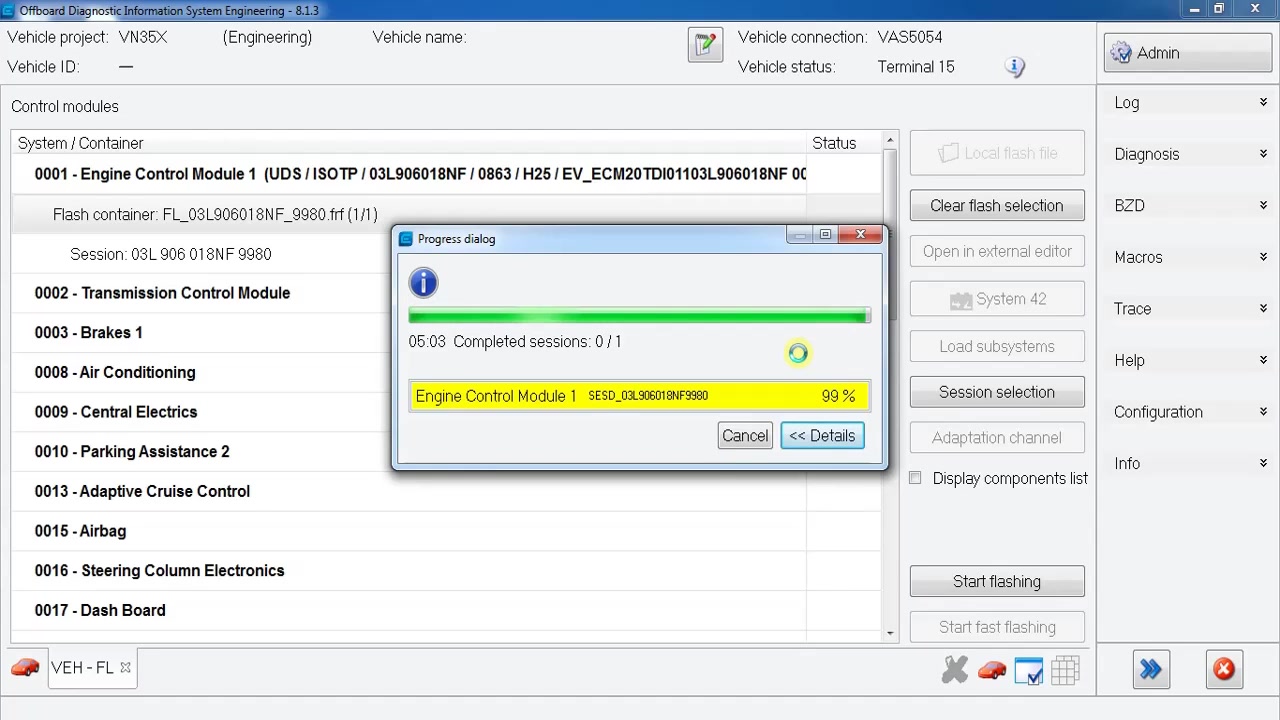
To begin the flash, select the identified ECU and click the Flash button. The software will prompt you to load the appropriate calibration file (e.g., VW_ECU_2024_01.bin). Browse to the file location, select it, and confirm. ODIS Engineering then displays a warning: “Ensure a stable power supply during flashing; loss of power may brick the ECU.” Connect a dedicated 12 V battery charger or a high‑capacity power pack to the vehicle’s battery terminals, and verify the charger’s output is within the manufacturer’s recommended range. Once the power source is secured, click Start Flash. The progress bar shows real‑time data transfer, checksum verification, and write cycles.
During flashing, avoid any operation that could interrupt the power flow—no turning off ignition, no disconnecting the diagnostic cable, and no opening doors that might trigger a voltage drop. If the software detects a power anomaly, it will automatically pause and display an error code. In that case, re‑establish a stable supply and resume the process from the last successful block. After the flash completes, ODIS Engineering prompts you to reset the ECU. Accept the reset, then allow the vehicle to idle for a few minutes while the new software initializes.
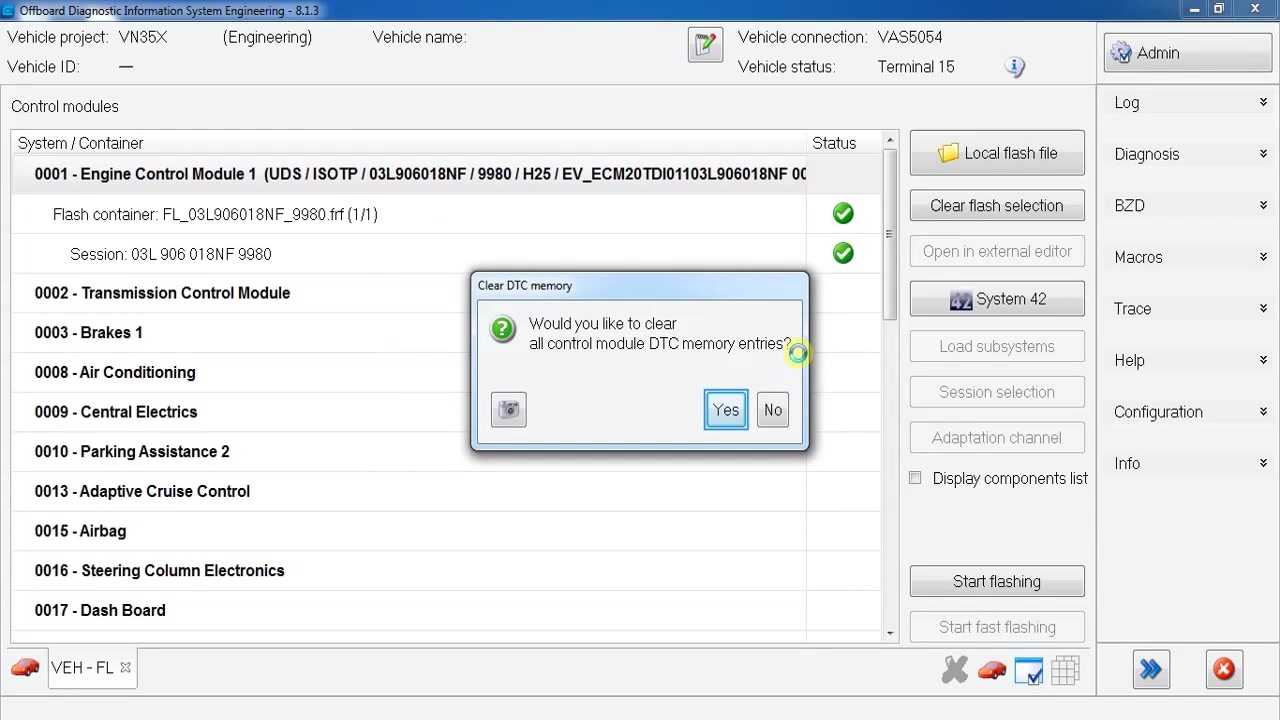
With the new software running, proceed to clear any stored diagnostic trouble codes. Return to the Control Module List, select the freshly flashed ECU, and click Clear DTCs. Confirm the action, and ODIS Engineering will erase the memory of previous faults, ensuring a clean slate for future diagnostics. A final verification scan confirms that no active codes remain.
To document the work, generate a service report. Click Report → Create PDF. The report includes project details, ECU identification, flash file version, power‑supply confirmation, and DTC clearance status. Save the PDF to your workshop’s server for audit purposes.
Finally, disconnect the diagnostic interface, remove any auxiliary power equipment, and perform a brief road test to validate the update under real‑world conditions. Monitor for any abnormal behavior; if issues arise, re‑run a diagnostic scan to capture new codes.
Key Features of Offboard Diagnostic Information System Engineering 9.1.0
- Comprehensive vehicle project management with VIN‑based database loading
- Multi‑protocol diagnostic entrance supporting K‑Line, CAN, Ethernet, and FlexRay
- Dynamic control module list with real‑time identification and version reporting
- Robust ECU flashing engine with checksum verification and rollback protection
- Integrated DTC memory clearing and live data streaming for post‑flash validation
- Automated service report generation with customizable templates
Compatible Vehicles and ECUs
ODIS Engineering 9.1.0 supports a wide range of VW Group platforms, including but not limited to:
- Volkswagen Golf, Passat, Tiguan, and commercial VN35X series
- Audi A3, A4, Q5, and high‑performance models
- Seat Leon, Ateca, and Ibiza
- Skoda Octavia, Superb, and Kodiaq
- Luxury and hyper‑car applications such as Lamborghini Huracán, Bugatti Chiron, and select VW Group prototypes
- All related ECUs: engine, transmission, ABS, airbag, body control, infotainment, and gateway modules
Pro Tips
- Always verify battery voltage is above 12.5 V before starting a flash; a low‑state battery can cause incomplete writes.
- Use a dedicated power supply with at least 5 A current rating for high‑capacity ECUs like the engine control unit.
- Keep a backup copy of the original calibration file on a secure USB drive; ODIS Engineering allows you to restore it if the new flash fails.
- After flashing, run a full system scan (including all secondary modules) to catch any hidden faults introduced by the update.
- Document the exact software version and checksum displayed in ODIS Engineering; this information is essential for warranty claims and future troubleshooting.
Following this structured approach with ODIS Engineering 9.1.0 ensures reliable ECU updates, clean diagnostic records, and minimal downtime for VW Group vehicles.
Frequently Asked Questions
What precautions should be taken during ECU flashing?
The flash process can take a long time, so ensure the power supply is sufficient to avoid interruptions.
Ready to use Offboard Diagnostic Information System Engineering 9.1.0 in your workshop? Download it directly from firstdiag.com — instant delivery, no subscription needed.